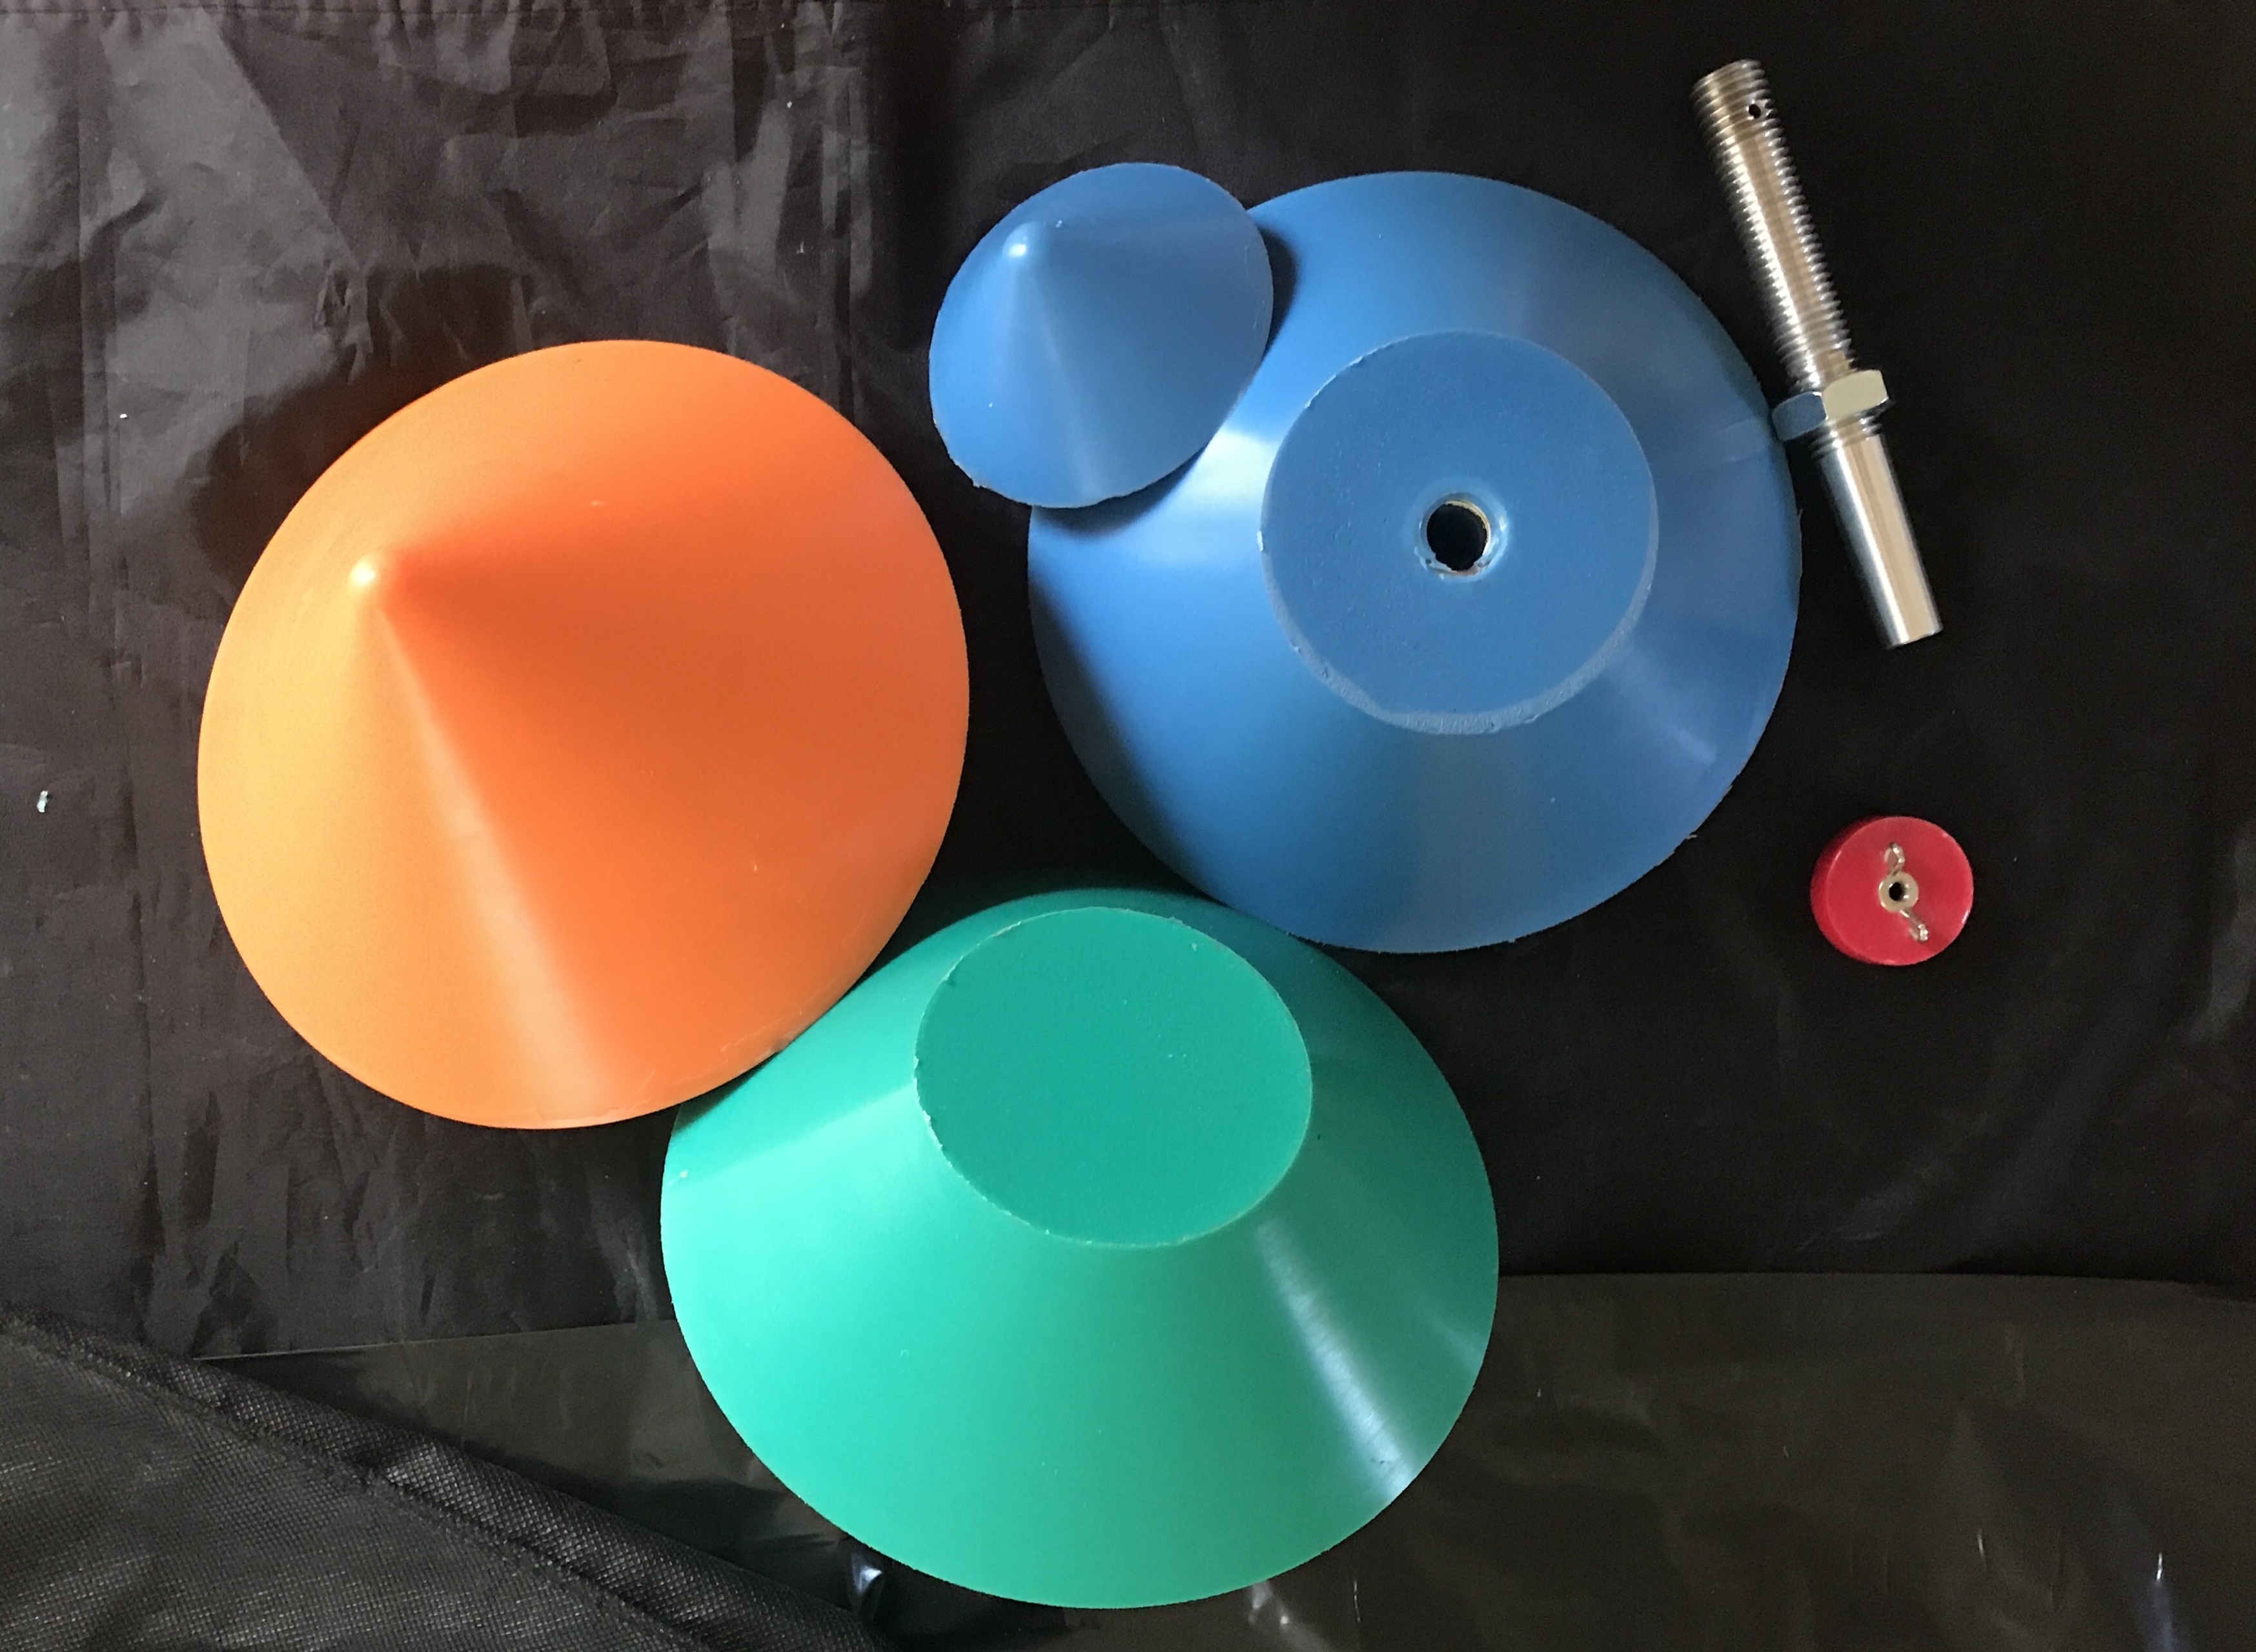
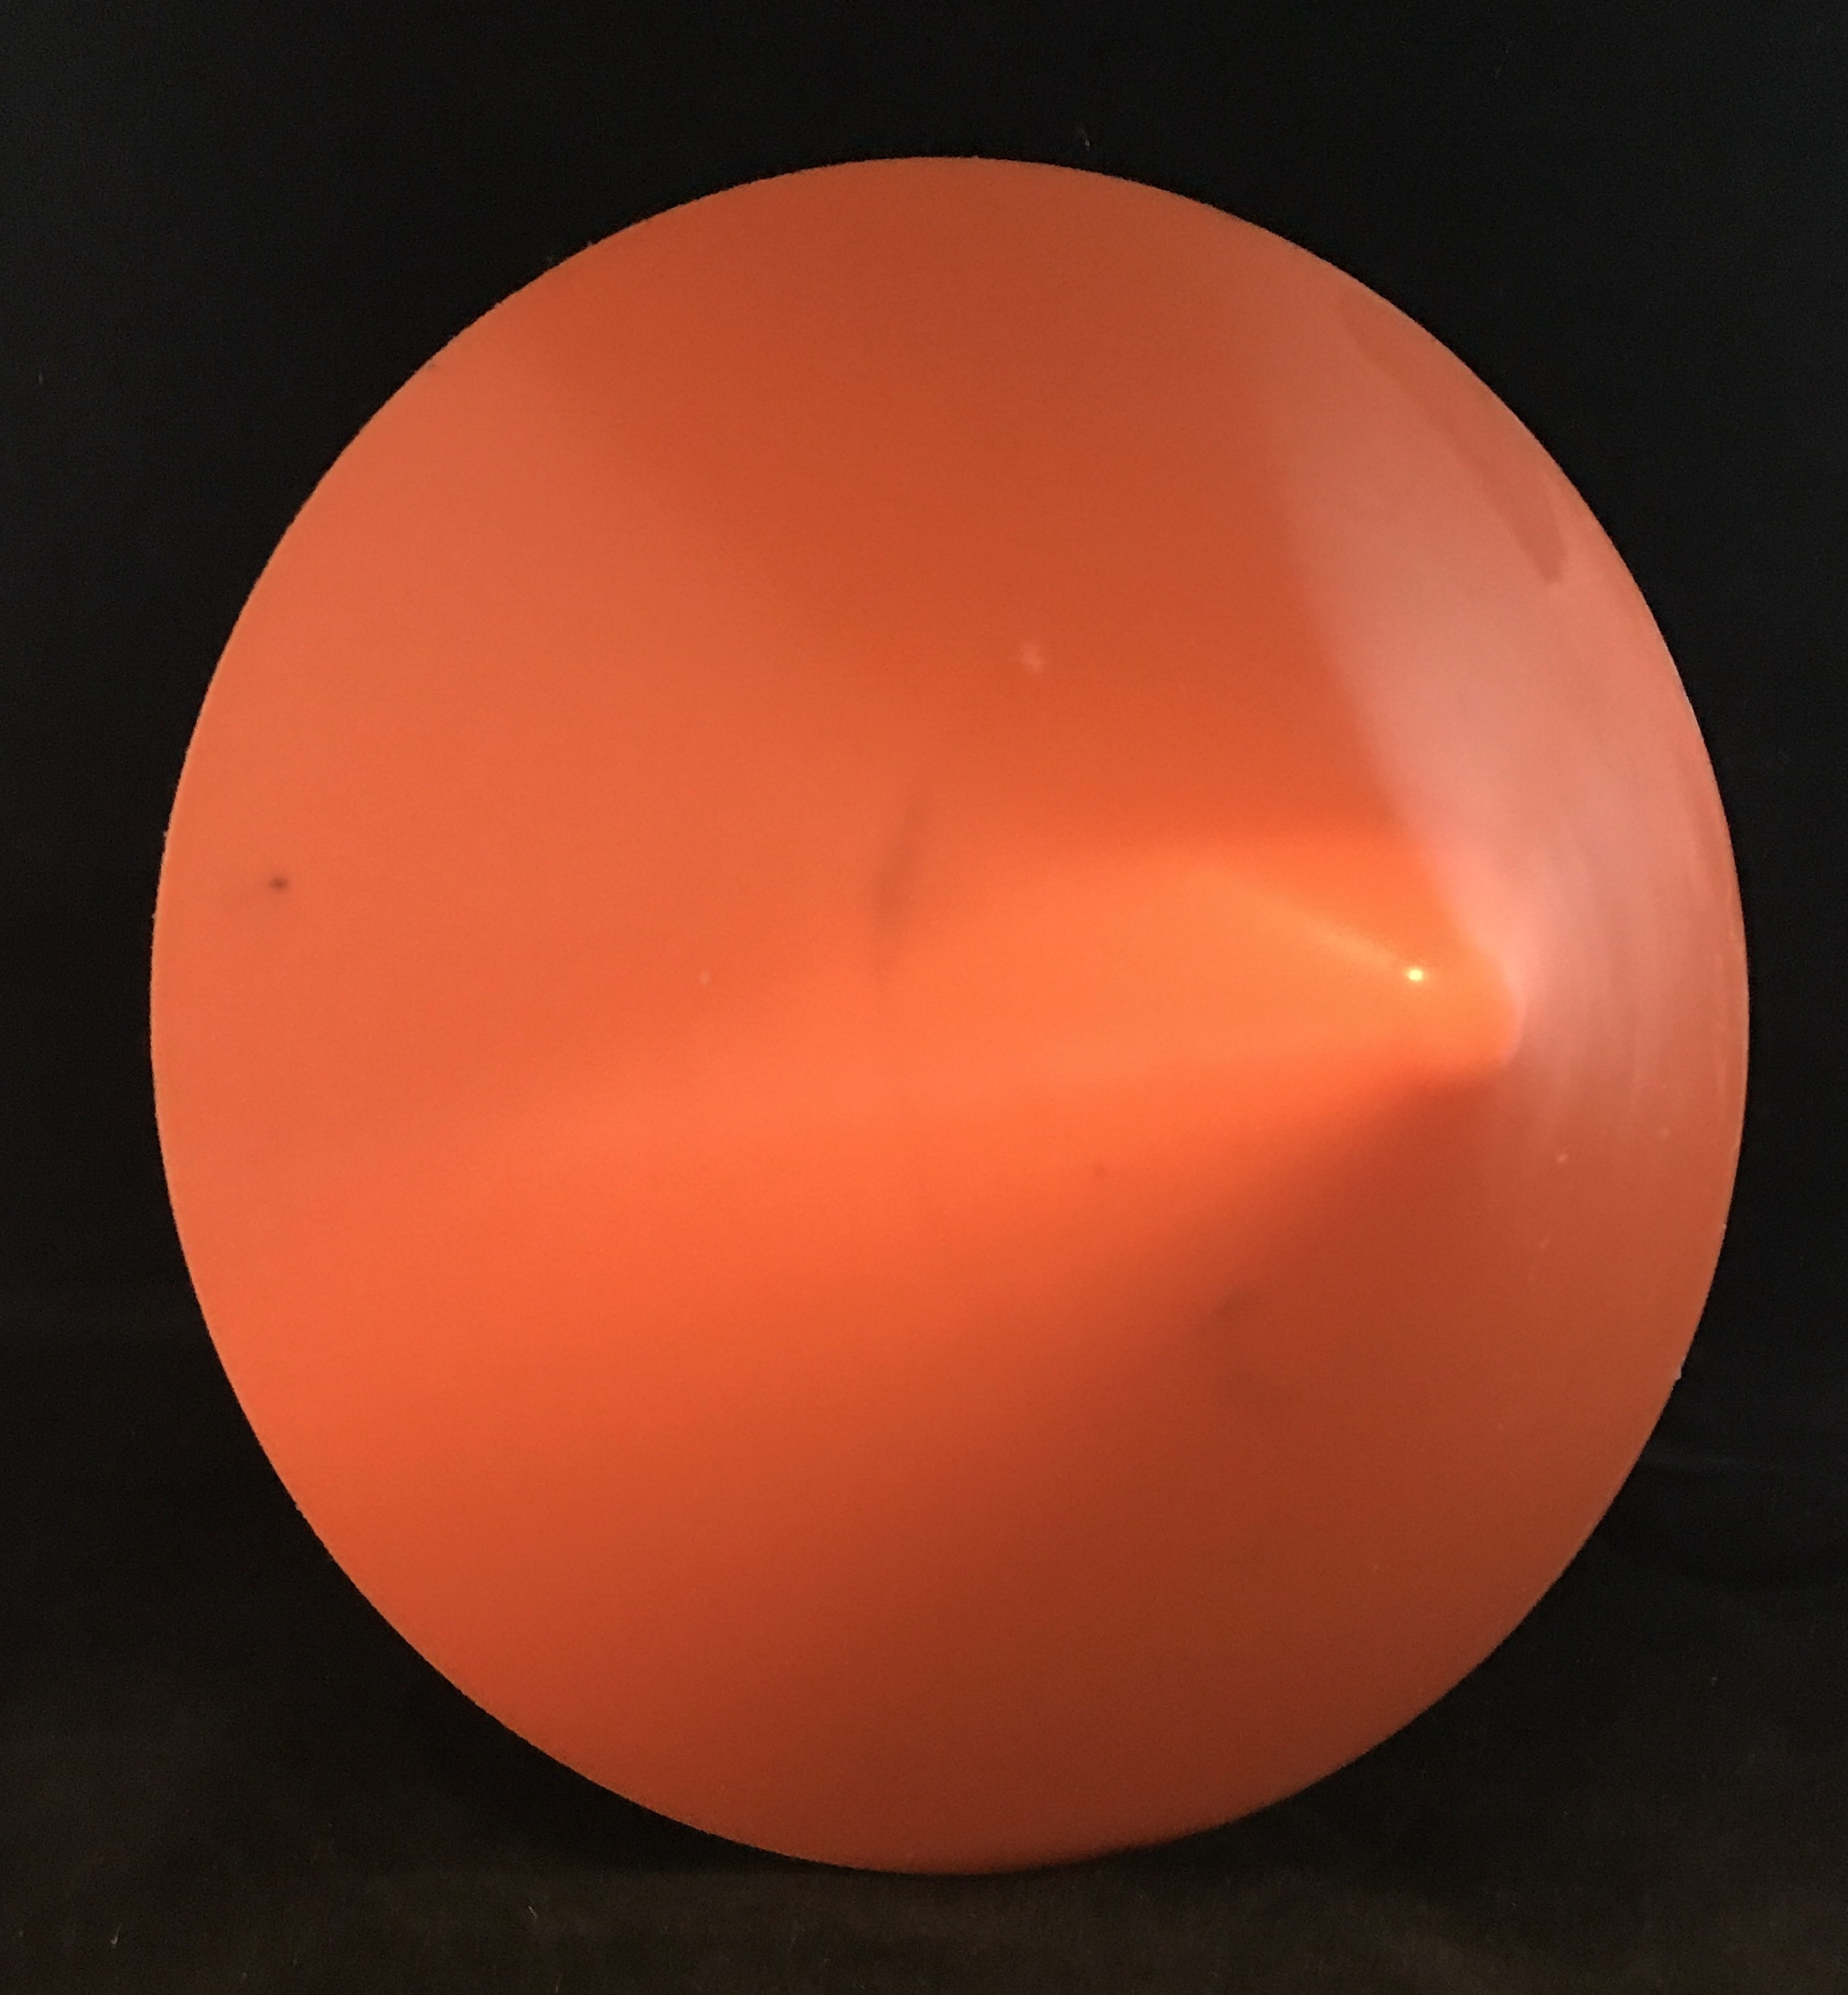

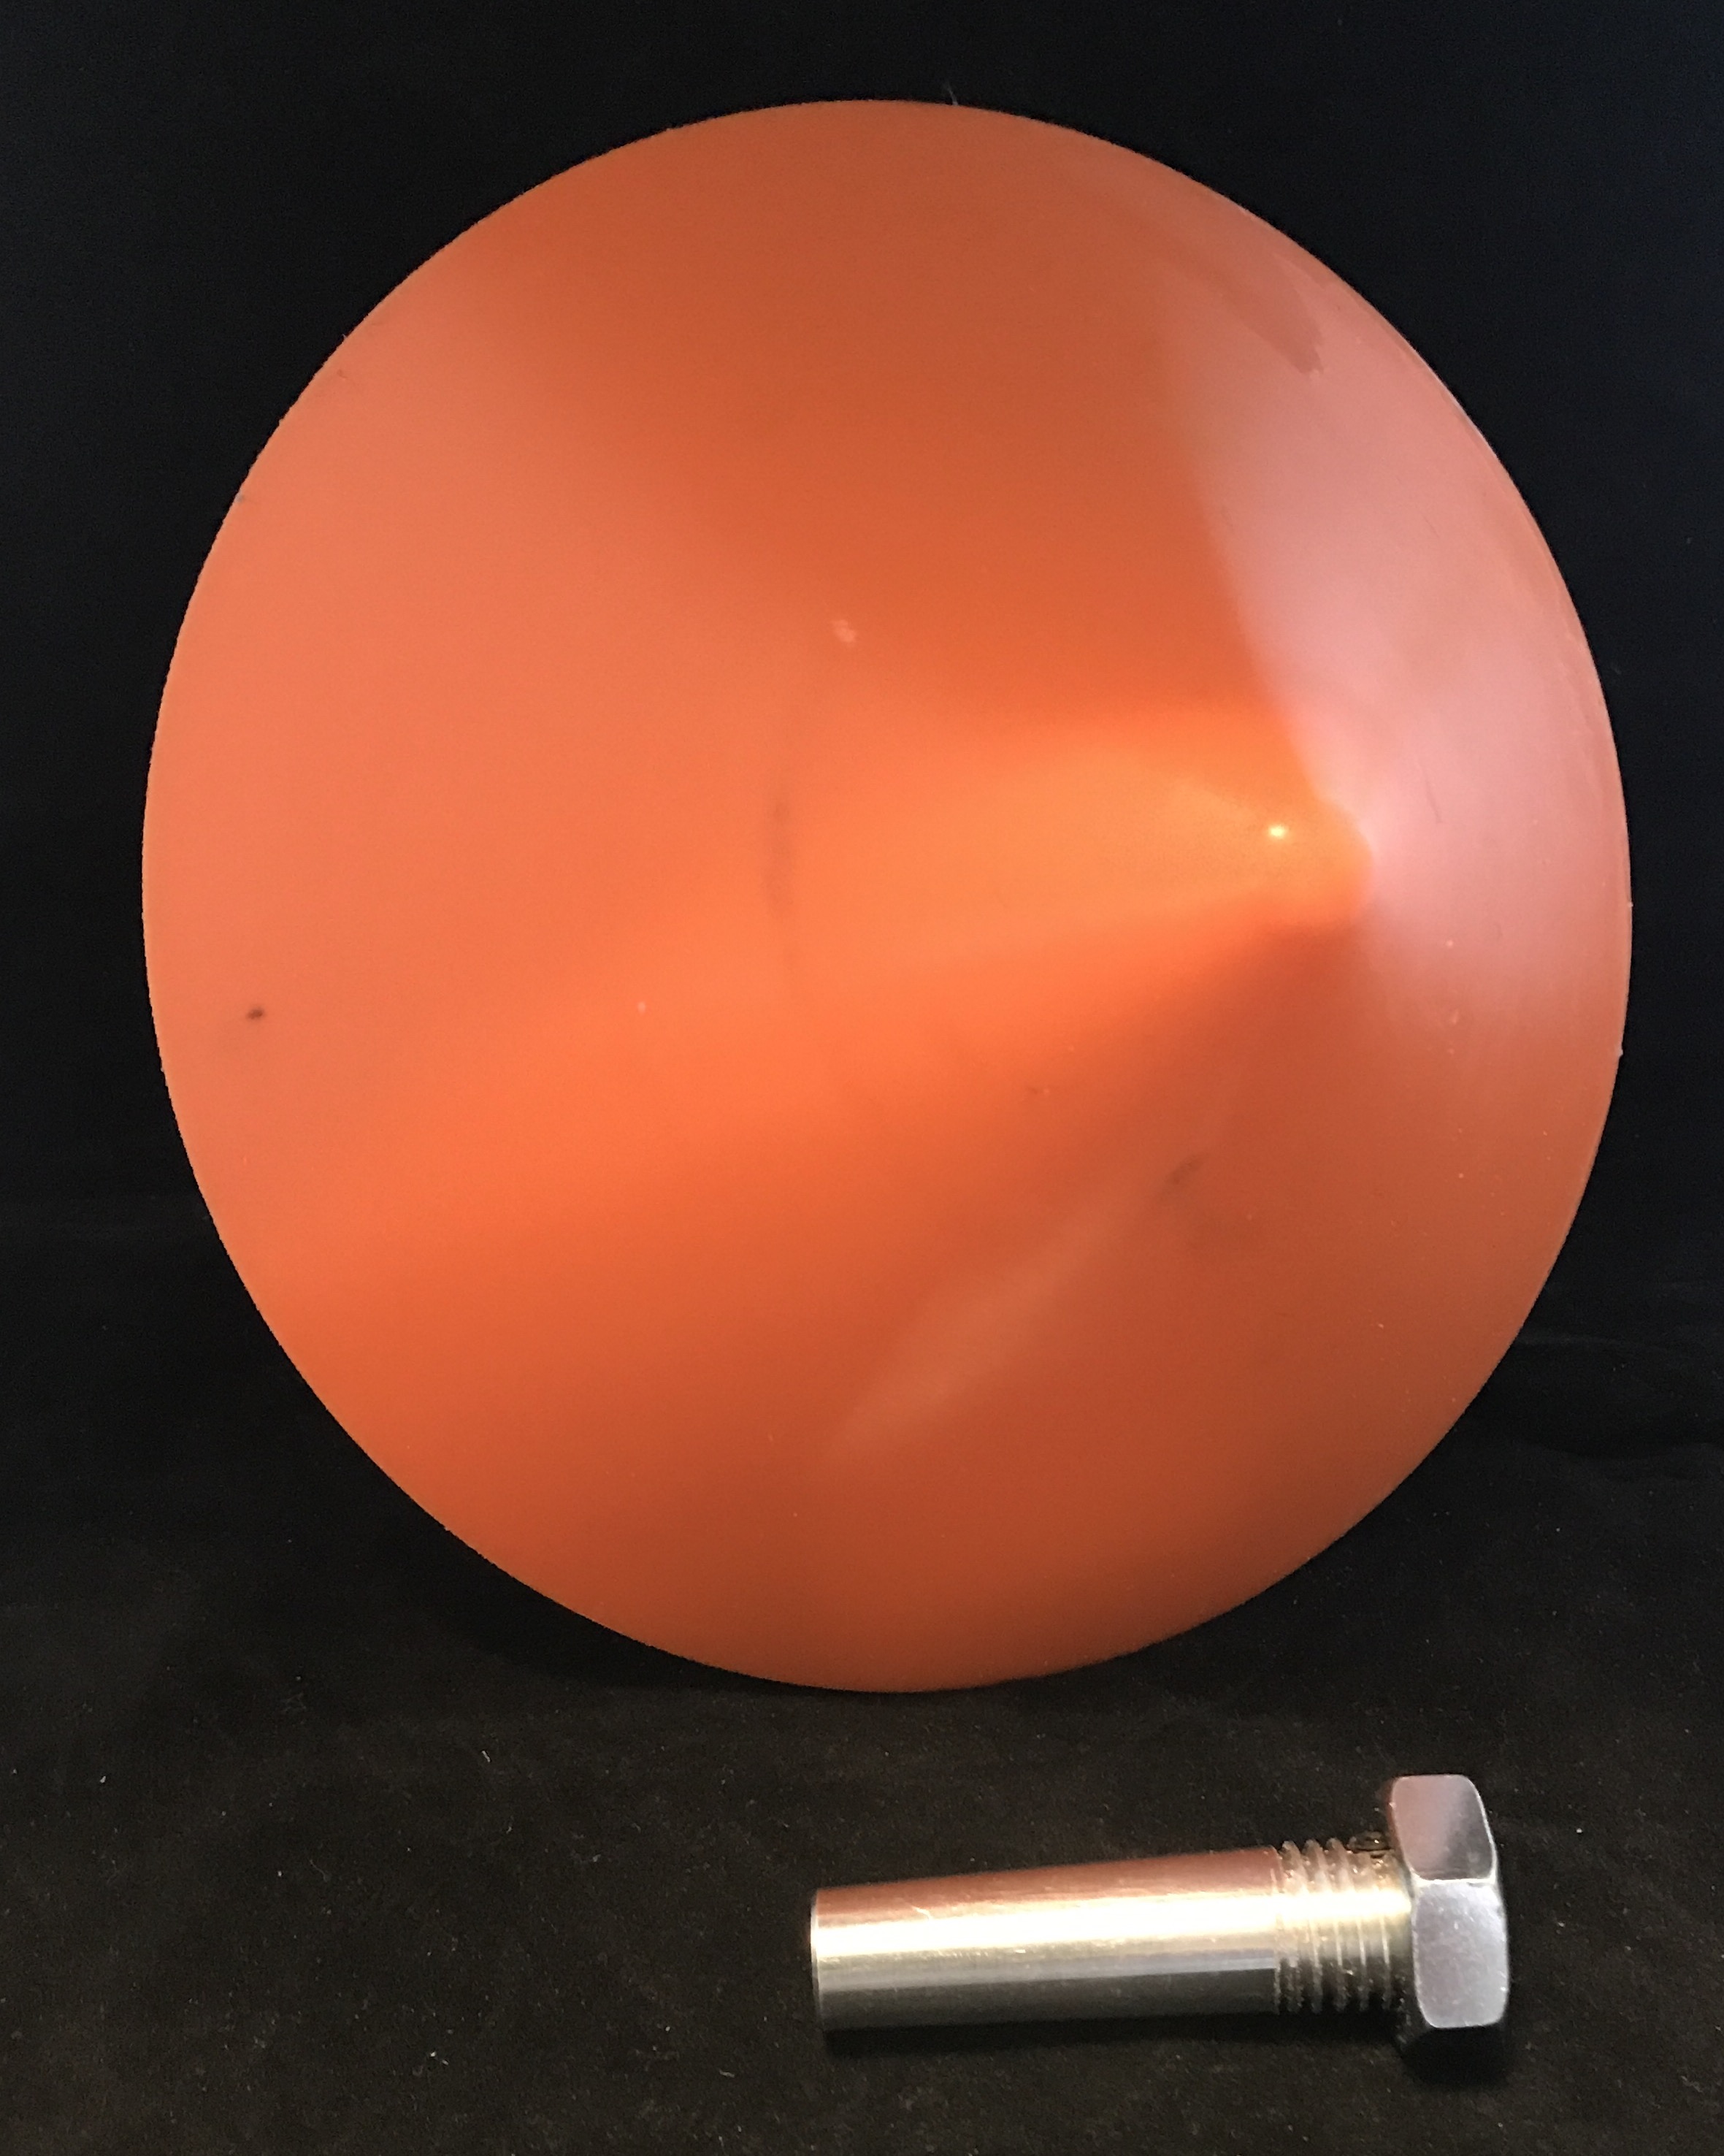
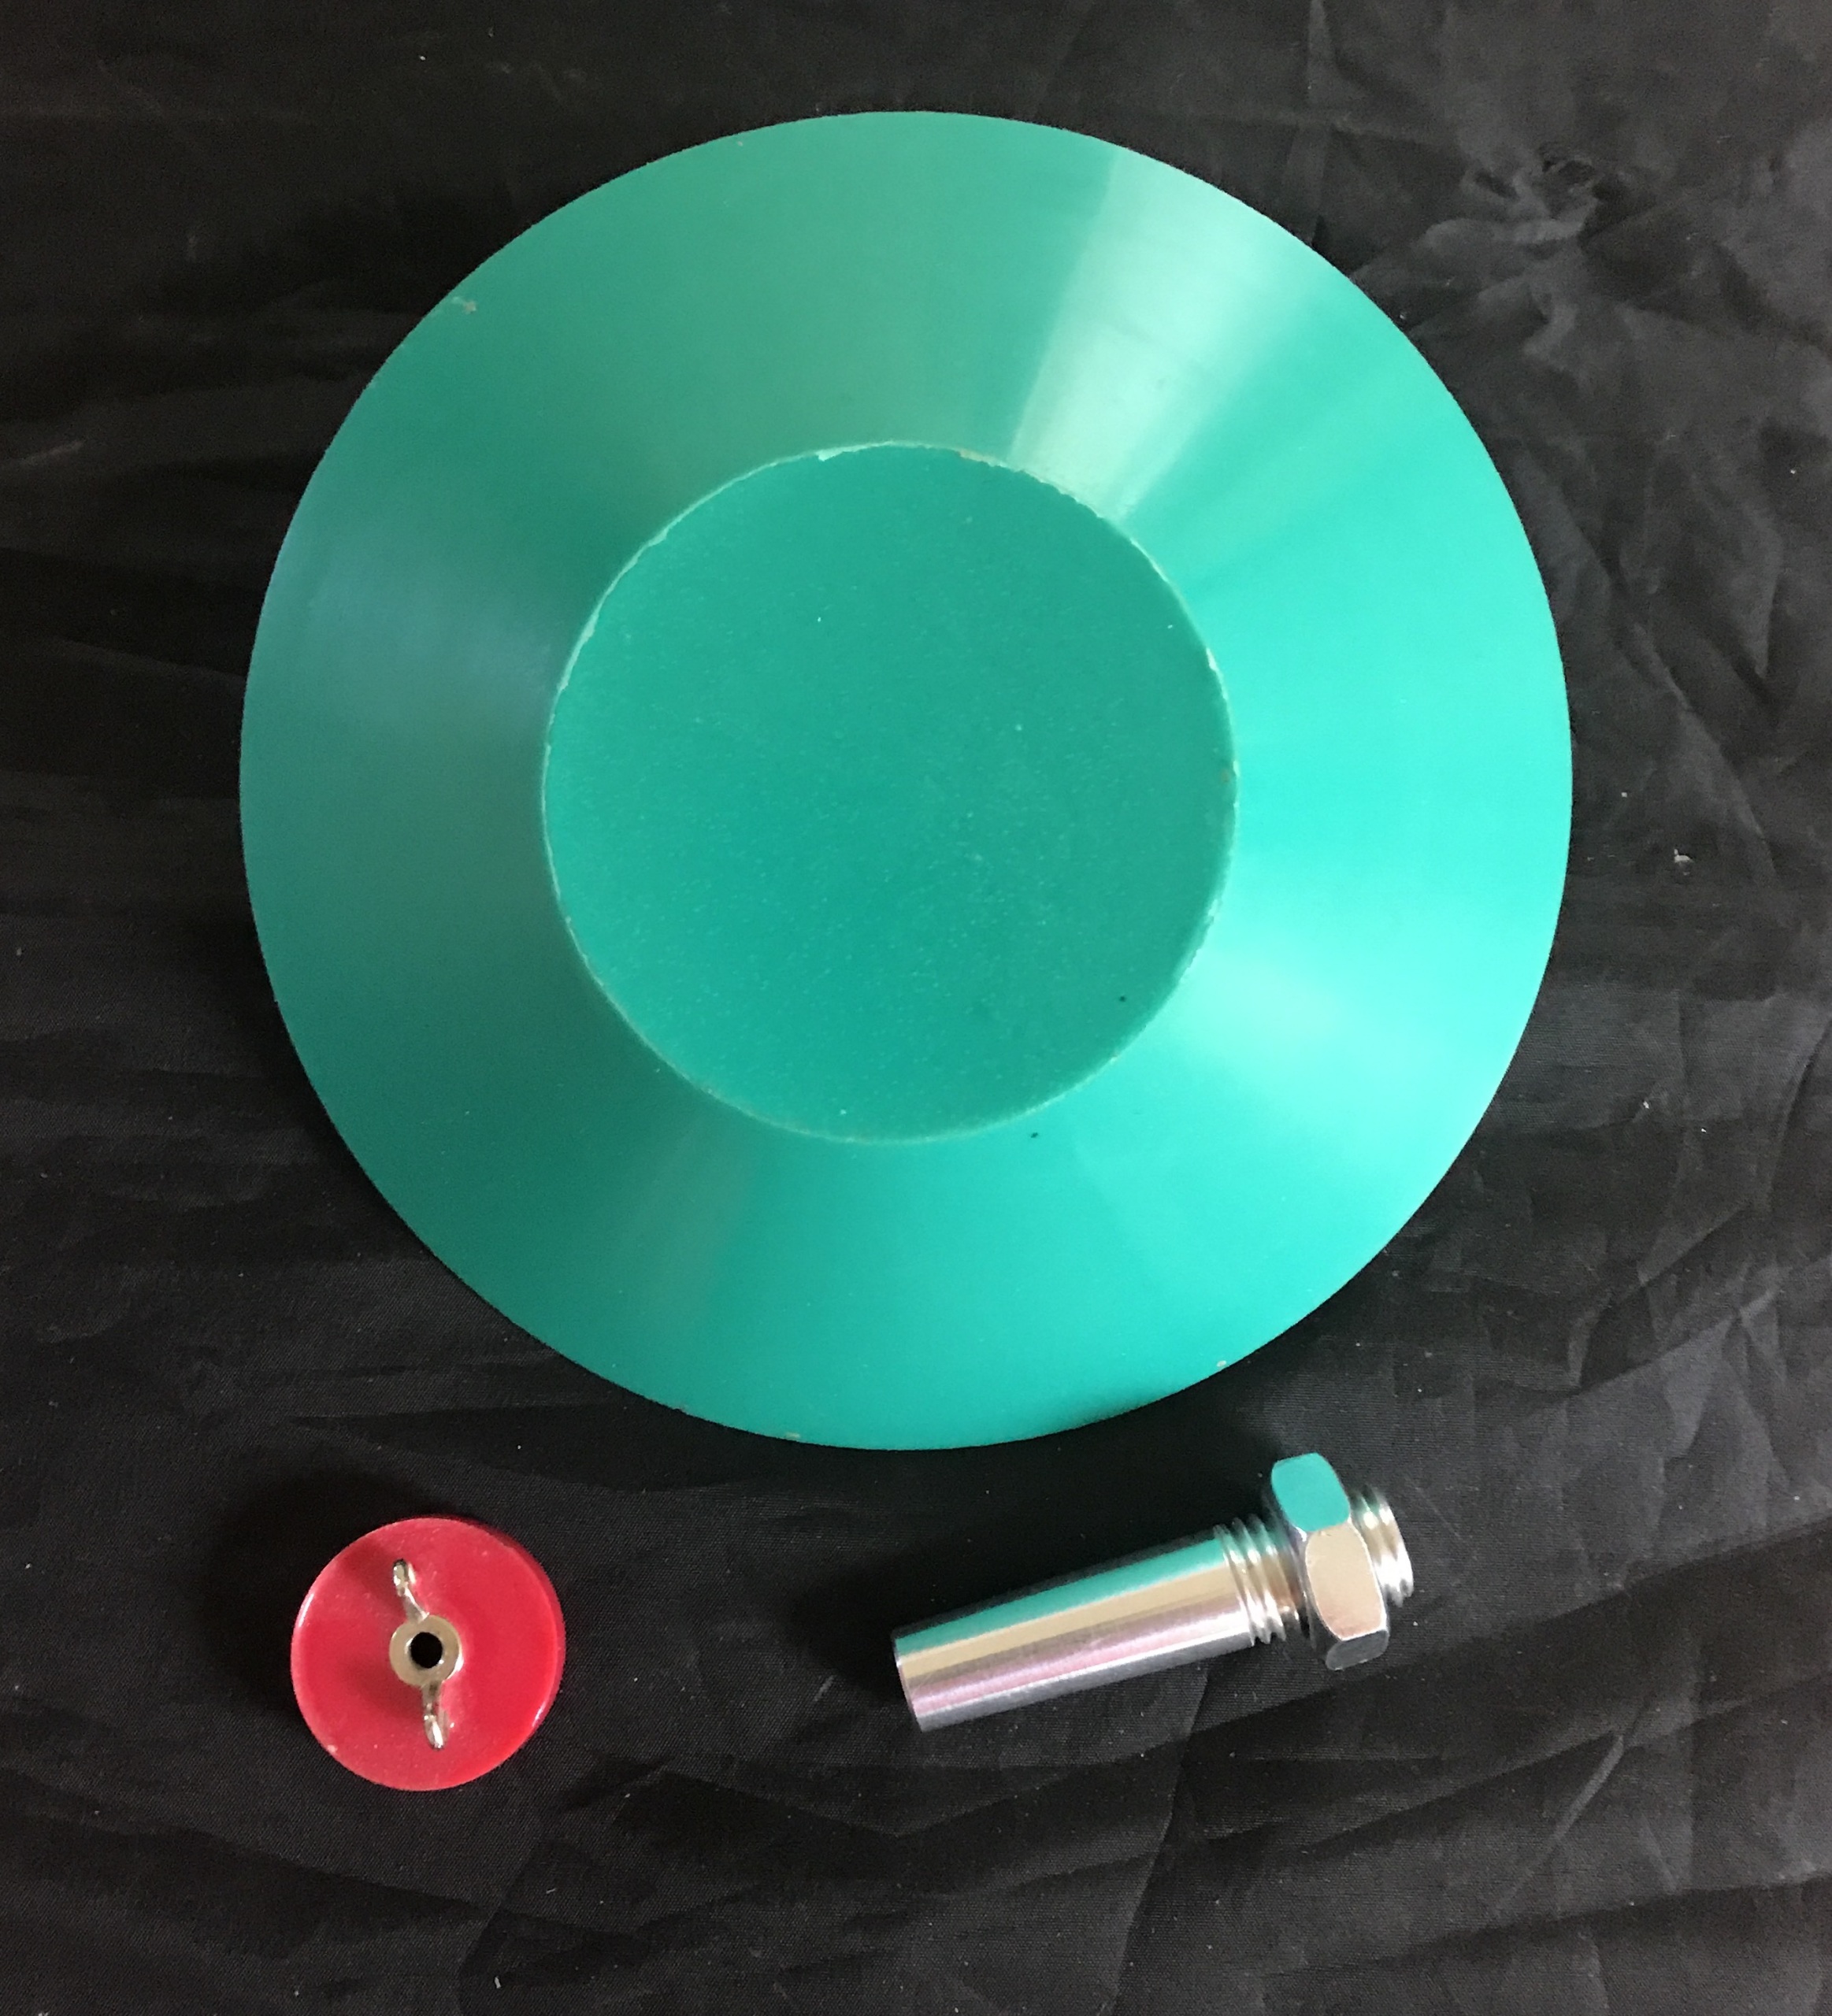

Jumbo Chucky
Available in two configurations!
We no longer manufacture the Convertible Jumbo Chucky.
We have also discontinued the Draw Bar Chucky. You can easily make your own with a Length of 1/4-20 Allthread a washer and Wing Nut.
Available in two configurations!
We no longer manufacture the Convertible Jumbo Chucky.
We have also discontinued the Draw Bar Chucky. You can easily make your own with a Length of 1/4-20 Allthread a washer and Wing Nut.
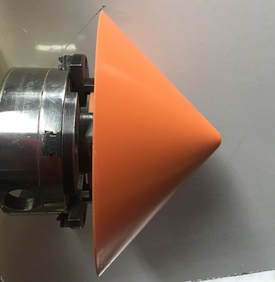
Jumbo Chucky shown with Chucky MT2 Arbor
|

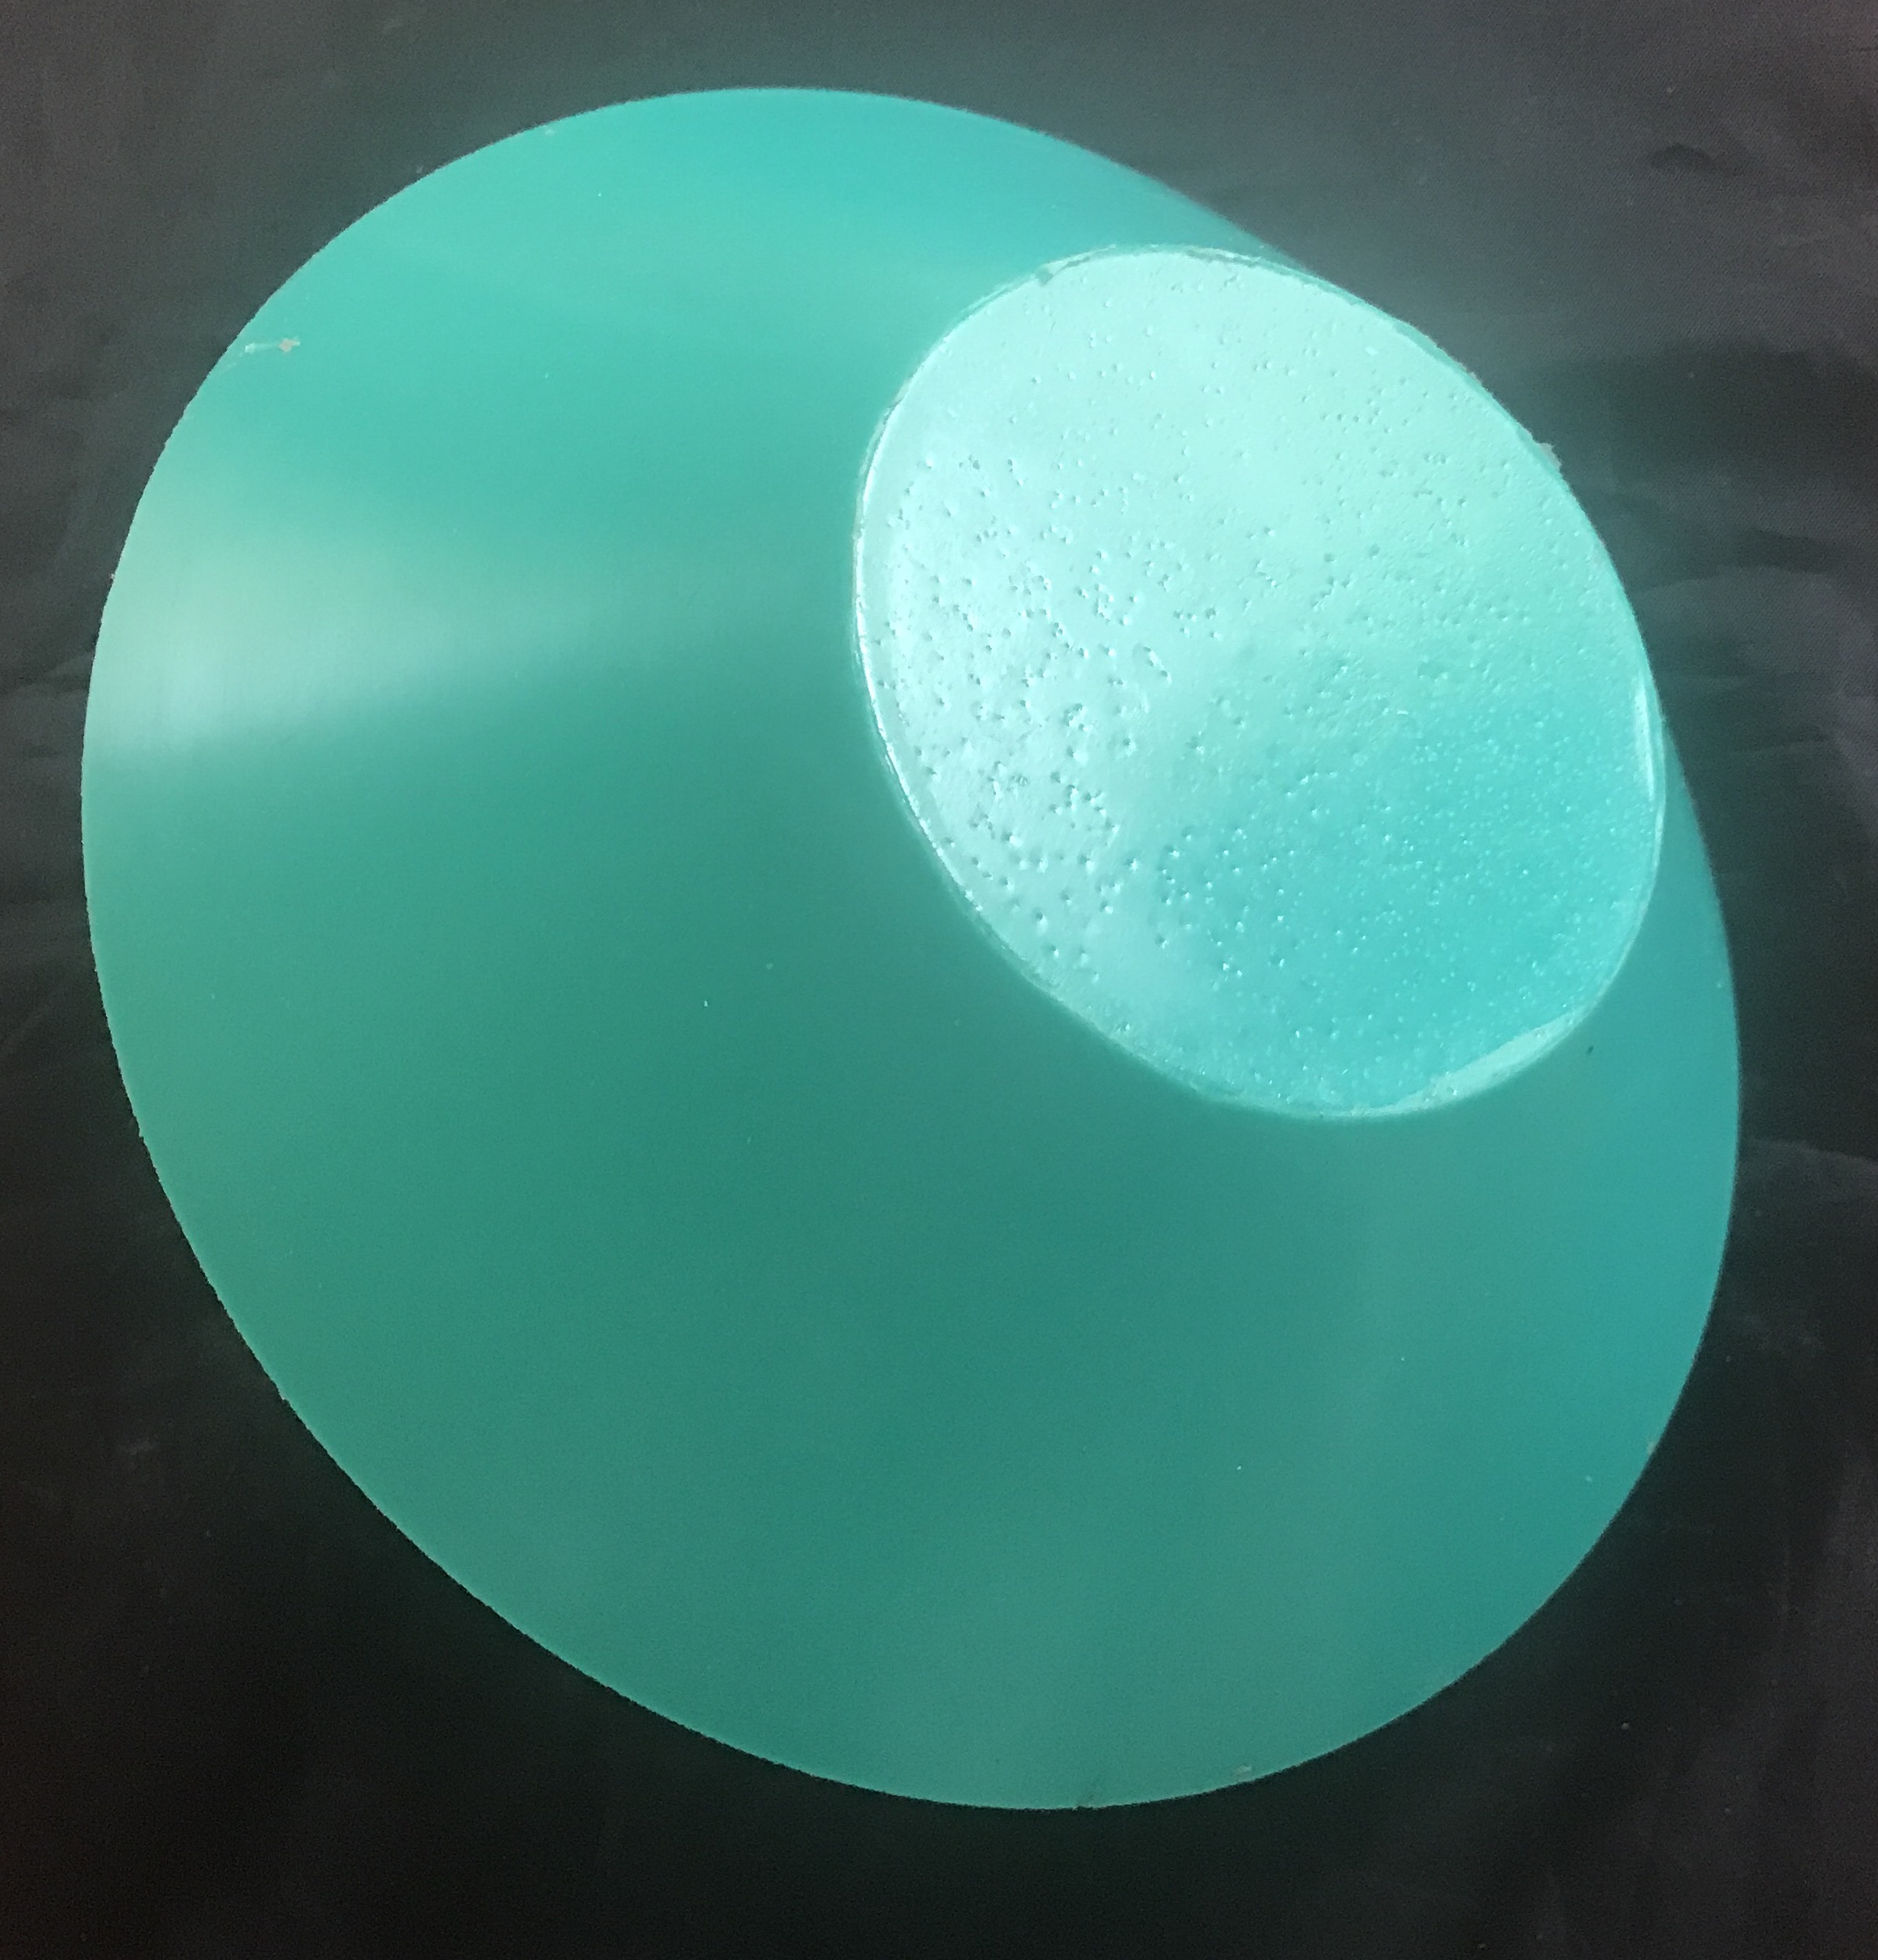
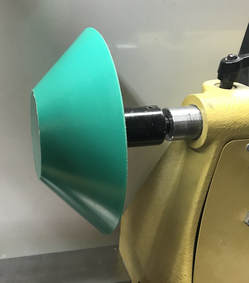
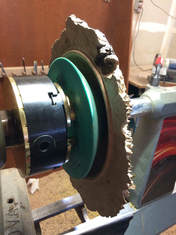
NO-Nose Jumbo Chucky shown
with Chucky MT2 Arbor
|
They can be used in a Scroll Chuck, on your Tailstock with a Live Center (with removable cone) or in your Headstock Spindle on a Chucky Arbor.
Jumbo Chucky mounted in Scroll Chuck
|
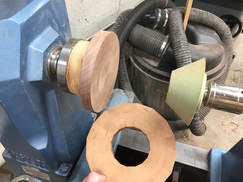
No-Nose Jumbo Chucky Mounted on Live Center
|
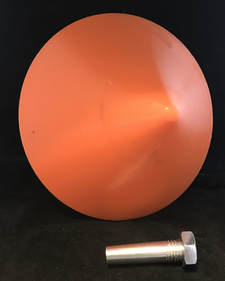
See the pictures below for approximate sizes of the Jumbo Chuckies. They are all approximately 7 3/4" at the base but vary in height according to style. All of them have a tenon and inserted nut for the various mountings shown above.
Please Note: Due to limited clearance between the tool rest base and the Jumbo Chucky we do not recommend using a Jumbo Chucky on a Mini Lathe.
Please Note: Due to limited clearance between the tool rest base and the Jumbo Chucky we do not recommend using a Jumbo Chucky on a Mini Lathe.
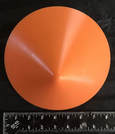
Jumbo Chucky
8" at Base
|
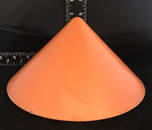
4 1/4" Tall
|
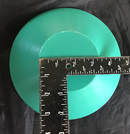
No-nose Jumbo Chucky
3 1/2" on Flat
|
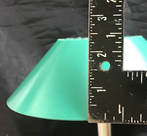
2 1/2" Tall
|
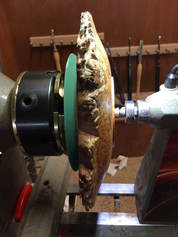
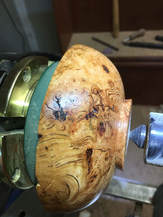
The Jumbo Chucky can also be used for large hollow forms or anything where the tapered nose can be utilized.
The Jumbo No-Nose Chucky can be used for large bowls, platters, etc.
|
|
|
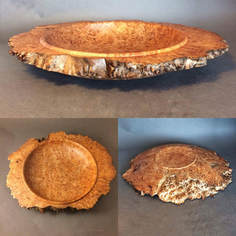
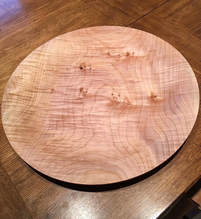
17 Year Old Todd Halleman using the first Jumbo No-Nose Chucky made to turn this beautiful 11' x 13' x 3' Maple Burl Platter.
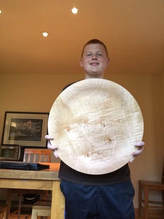
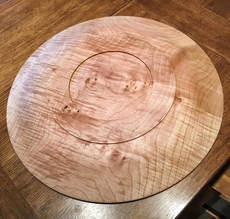
Below are pictures of Todd and his work work - a 19" X 1.5" Big Leaf Maple Platter. He likes his Rubber Chuckies!
Below are pictures of Todd and his work work - a 19" X 1.5" Big Leaf Maple Platter. He likes his Rubber Chuckies!
|
|
|
|
The Convertible Jumbo Chucky can be used with or without the tapered nose for any of the above - giving you the best of both worlds. This Chucky includes a removable arbor that threads into both parts of the Jumbo Chucky.
It is highly recommended when using a Chucky Arbor with your Jumbo Chucky that you use a Drawbar. All of our Arbors have a 1/4-20 thread in the taper end. This is to accommodate a 1/4-20 All-Thread Rod (available at most hardware stores). Cut it to length and thread it in the Chucky Arbor - put it through your headstock and attach a washer and Wing Nut. We HIGHLY recommend using a drawbar when using ANY Jumbo Chucky. The three Drawbar Pictures below are for reference only.
Drawbar Wing Nut Chucky
|
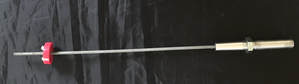
Assembled Drawbar
|
Installed Drawbar
|
Kevin Neelley's Instructions for gluing up a Segmented Bowl using
the No-Nose Jumbo Chucky.
Step 1
|

Step 2
|
Step 3
|
Step 4
|
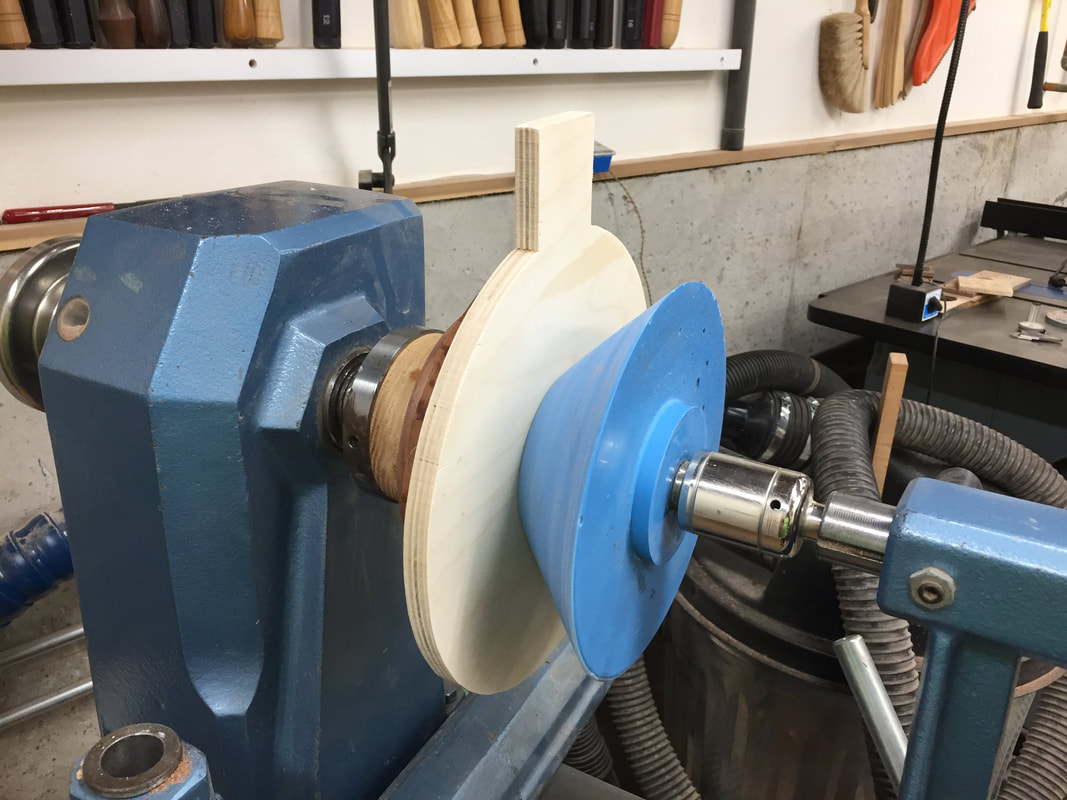
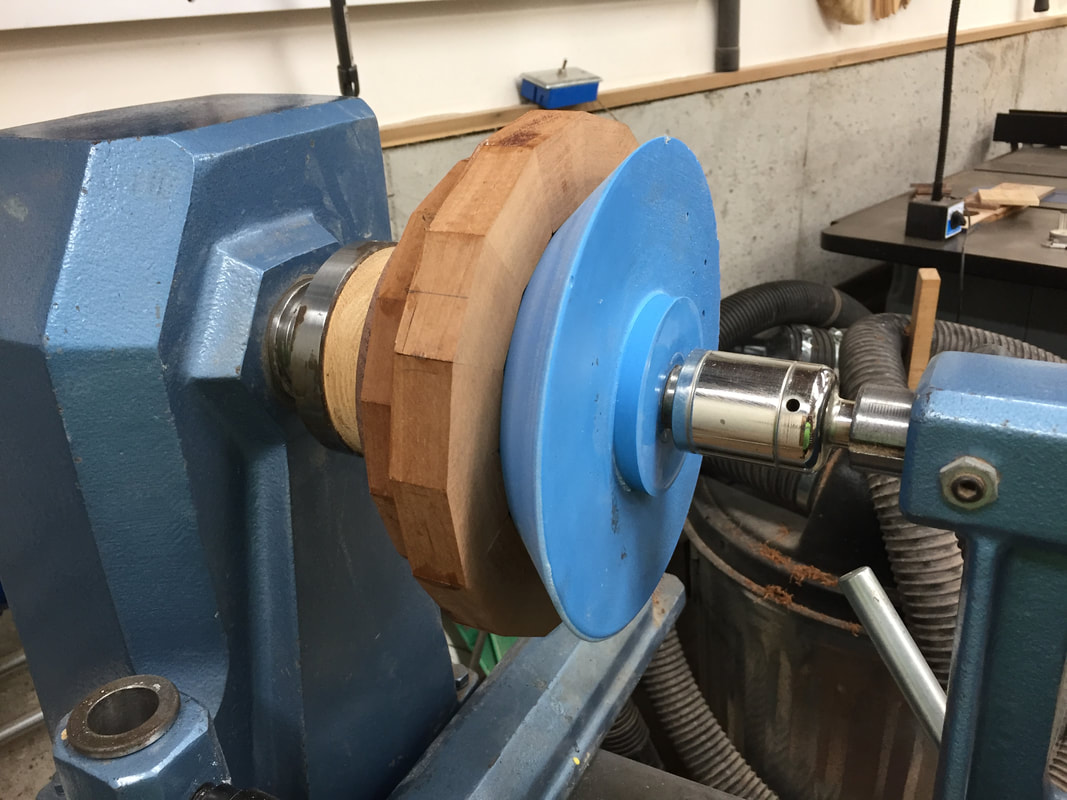
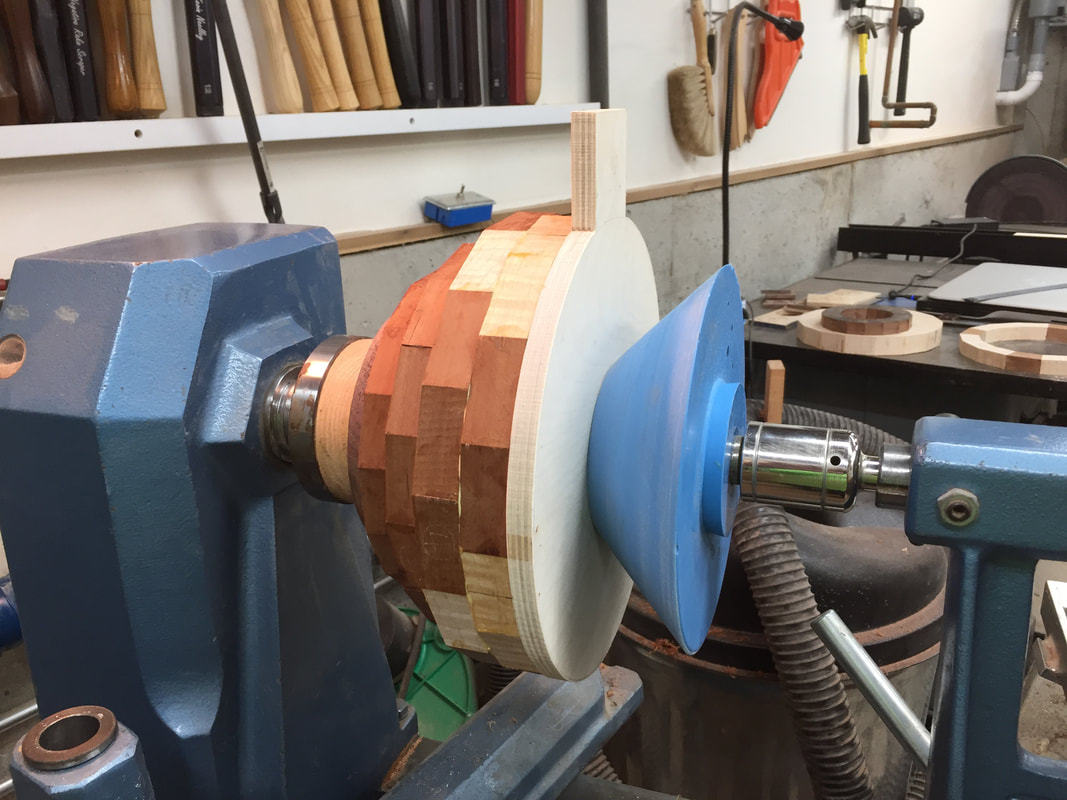
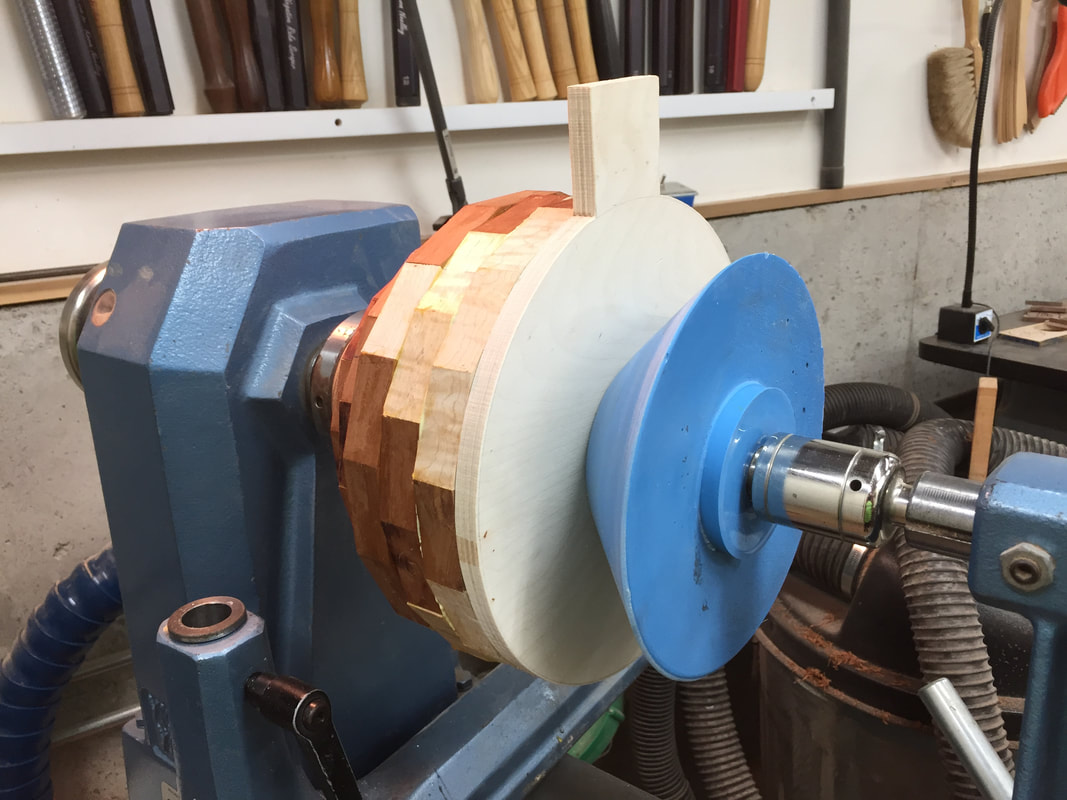
Step 1 Getting set up to glue Ring #2 to the Base Ring #1.
The Jumbo Chucky was a bit too big to fit inside Ring #2 so I used a No Nose Chucky.
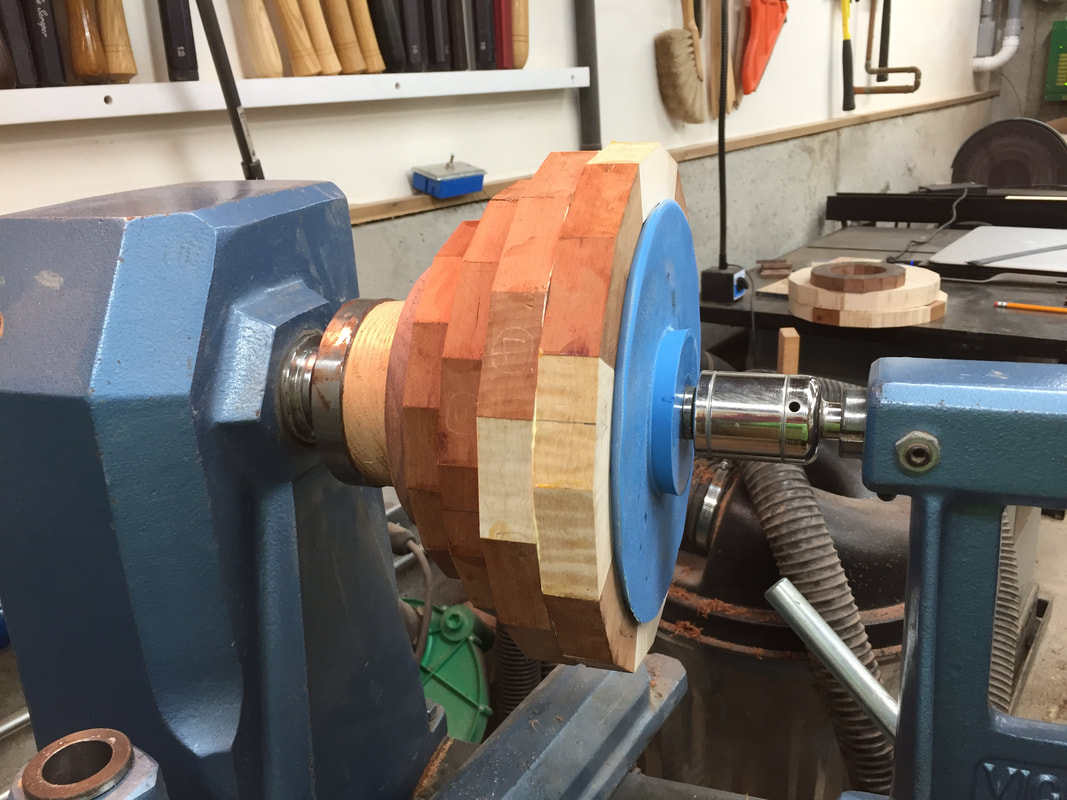
I used the Jumbo Chucky for all other construction steps.
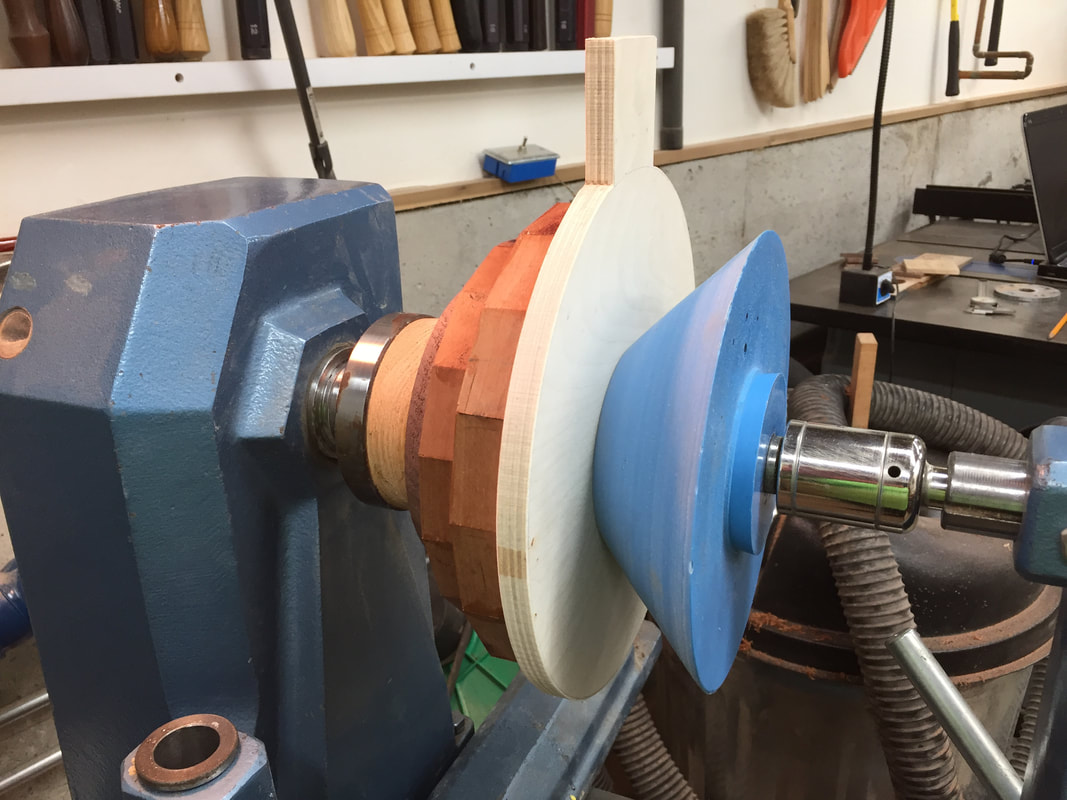
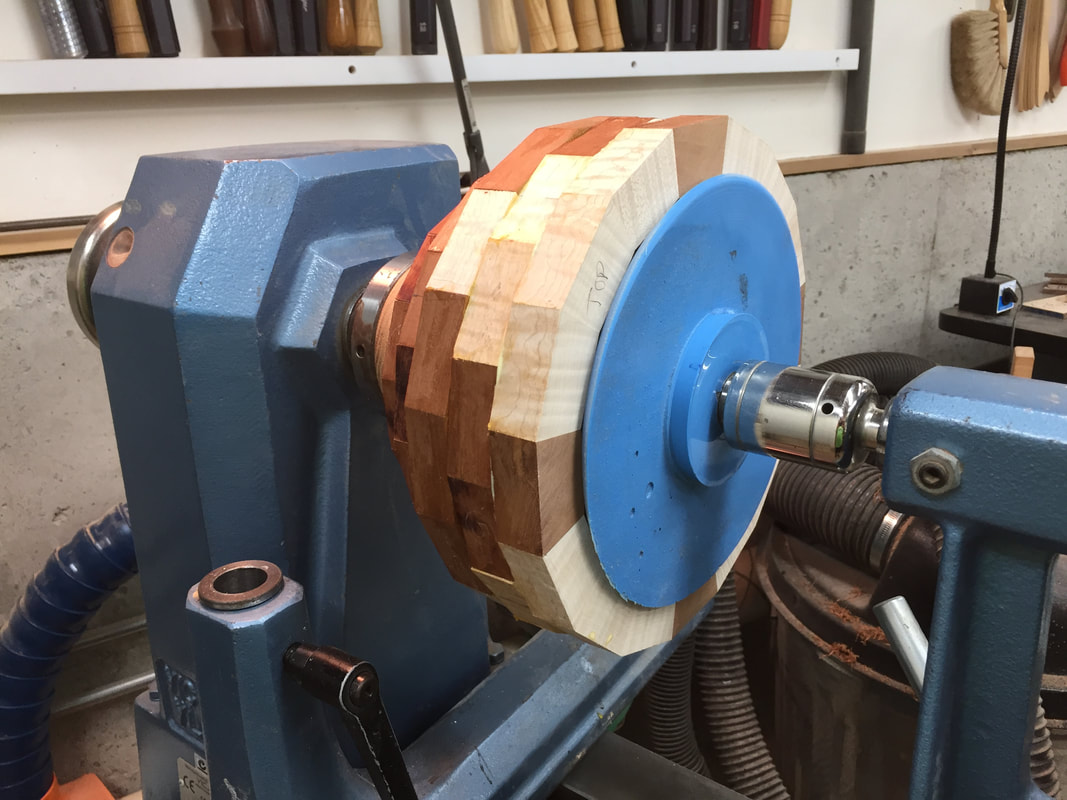
Step 2 Used the No Nose Chucky to center glue Ring #2 into the Base Ring #1. Perfectly centered. Medium pressure. Wait for 5 minutes for the glue to set up.
Step 3 Changed to the Jumbo Chuck without its nose. Used a pressure board between Ring #2 and the Jumbo Chucky. High pressure. Wait 30 minutes for glue to dry.
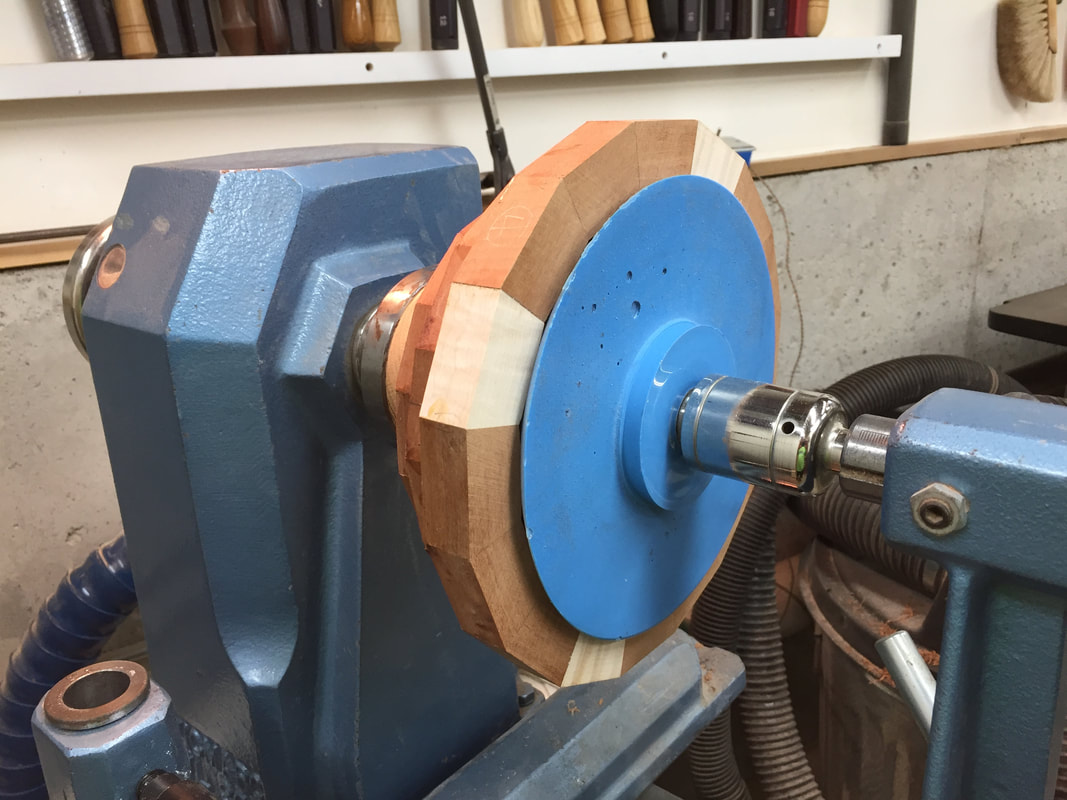
Step 4 Used the Jumbo Chucky to center glue Ring #3 to Ring #2. Ring #2 and Ring #3 segments rotated 1/2 segment apart. Perfectly centered. Medium pressure. Wait 5 minutes for glue to set up.
The Jumbo Chucky was a bit too big to fit inside Ring #2 so I used a No Nose Chucky.
I used the Jumbo Chucky for all other construction steps.
Step 2 Used the No Nose Chucky to center glue Ring #2 into the Base Ring #1. Perfectly centered. Medium pressure. Wait for 5 minutes for the glue to set up.
Step 3 Changed to the Jumbo Chuck without its nose. Used a pressure board between Ring #2 and the Jumbo Chucky. High pressure. Wait 30 minutes for glue to dry.
Step 4 Used the Jumbo Chucky to center glue Ring #3 to Ring #2. Ring #2 and Ring #3 segments rotated 1/2 segment apart. Perfectly centered. Medium pressure. Wait 5 minutes for glue to set up.
Step 5
|
Step 6
|

Step 7
|
Step 8
|
Step 5 Used a pressure board between Ring #3 and the Jumbo Chucky. High pressure. Wait 30 minutes for glue to dry.
Step 6 Used the Jumbo Chucky to center glue Ring #4 to Ring #3. Ring segments rotated 1/2 segment apart. Perfectly centered. Medium pressure. Wait 5 minutes for glue to set up.
Step 7 Used a pressure board between Ring #4 and the Jumbo Chucky. High pressure. Wait 30 minutes for glue to dry.
Step 8 Used the Jumbo Chucky to center glue Ring #5 to Ring #4. Ring segments rotated 1/2 segment apart. Perfectly centered. Medium pressure. Wait 5 minutes for glue to set up.
Step 9
|
Step 10
|
Step 11
|
Step 12
|
Step 9 Used a pressure board between Ring #5 and the Jumbo Chucky. High pressure. Wait 30 minutes for glue to dry.
Step 10 Used the Jumbo Chucky to center glue Ring #6 to Ring #5. Ring segments rotated 1/2 segment apart. Perfectly centered. Medium pressure. Wait 5 minutes for glue to set up.
Step 11 Used a pressure board between Ring #6 and the Jumbo Chucky. High pressure. Wait overnight for the glue to dry.
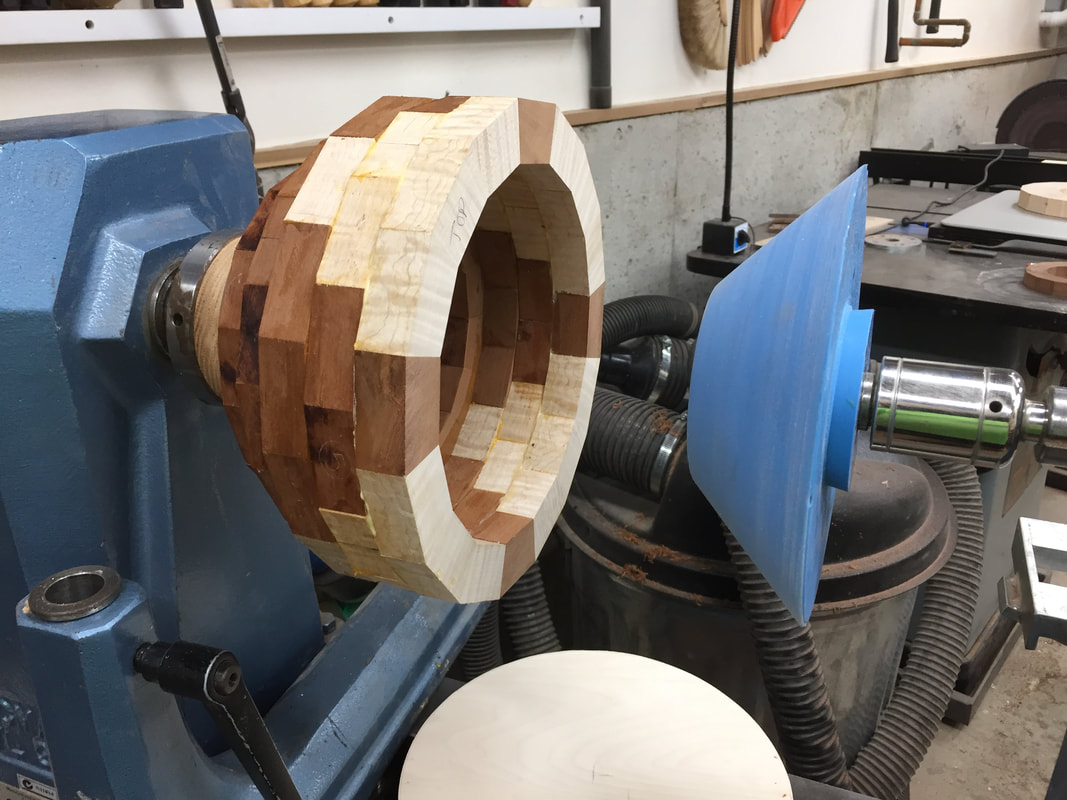
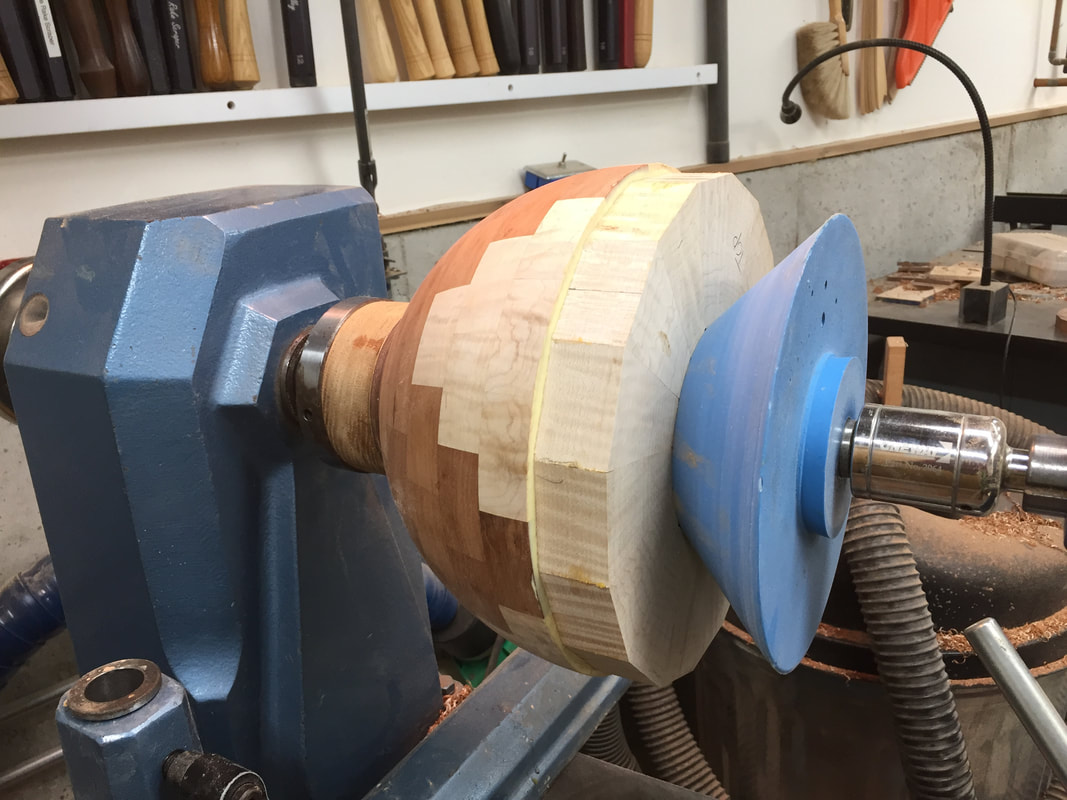
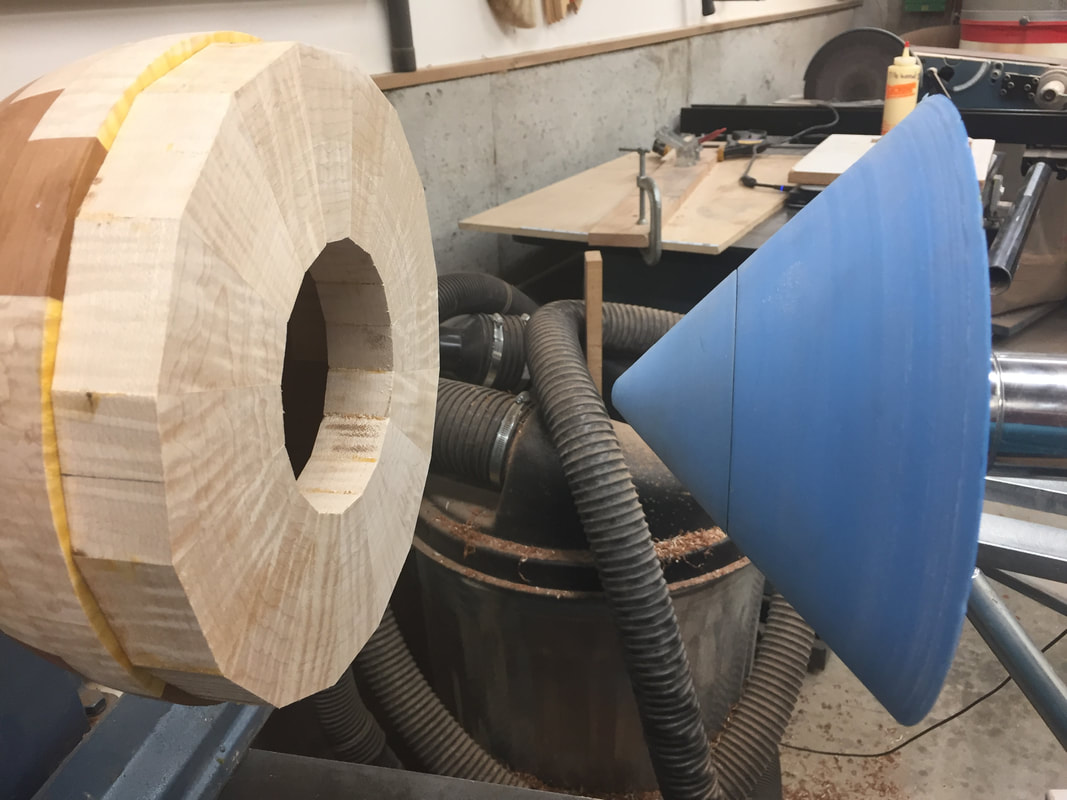
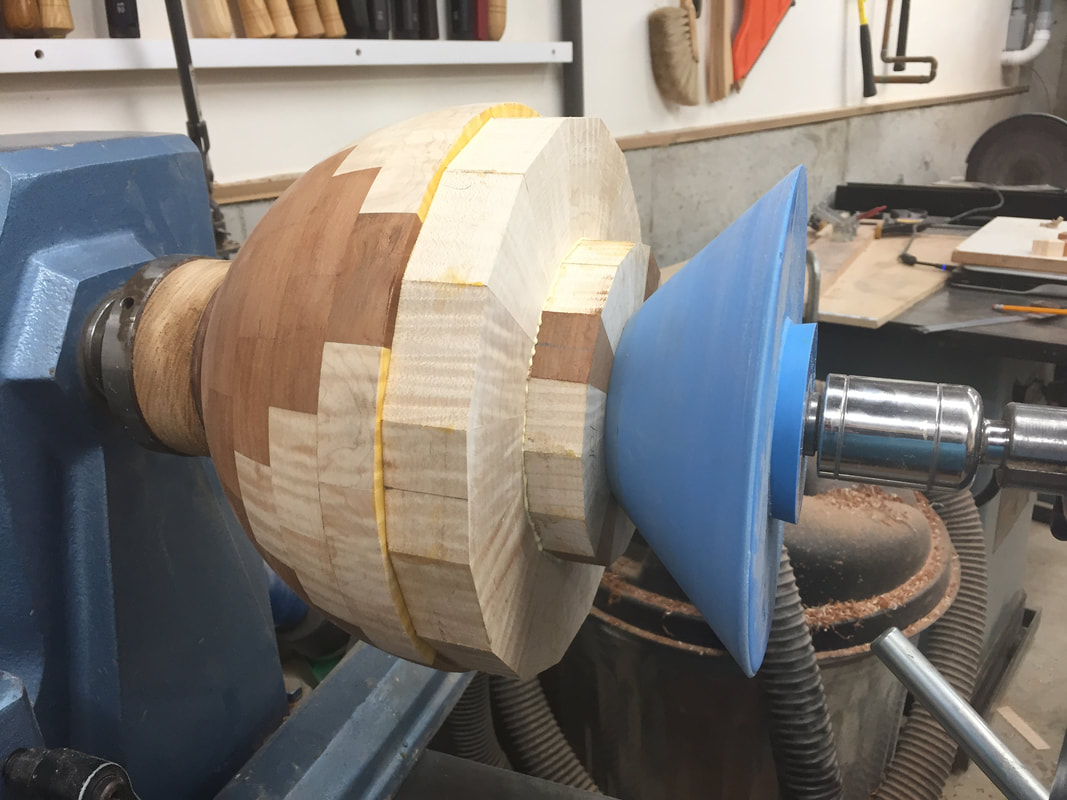
Step 12 Glue needs to dry overnight. Leave it clamped with pressure board and Jumbo Chucky. Next step is to contour bowl outside and turn bowl inside to get desired wall thickness. Then, use the Jumbo Chucky for installing remaining two rings.
Step 10 Used the Jumbo Chucky to center glue Ring #6 to Ring #5. Ring segments rotated 1/2 segment apart. Perfectly centered. Medium pressure. Wait 5 minutes for glue to set up.
Step 11 Used a pressure board between Ring #6 and the Jumbo Chucky. High pressure. Wait overnight for the glue to dry.
Step 12 Glue needs to dry overnight. Leave it clamped with pressure board and Jumbo Chucky. Next step is to contour bowl outside and turn bowl inside to get desired wall thickness. Then, use the Jumbo Chucky for installing remaining two rings.
|

|
|
|
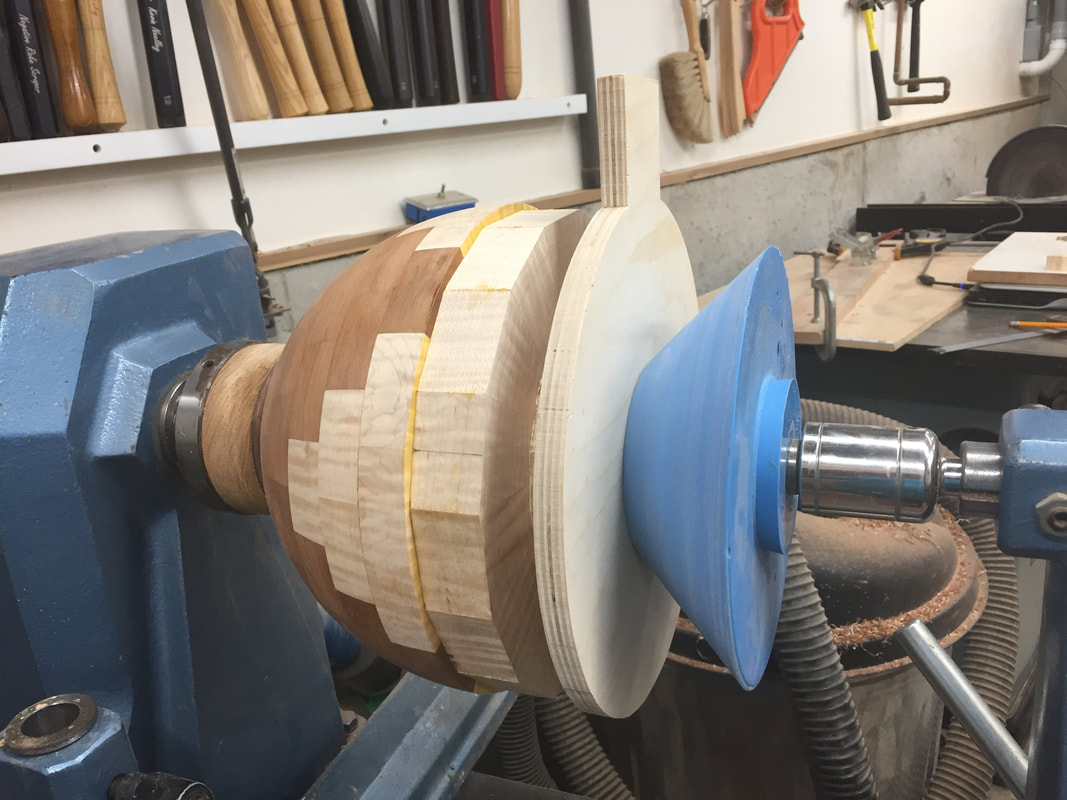
Step 13 Used the Jumbo Chucky to center glue Ring #7 to Ring #6. Ring segments rotated 1/2 segment apart. Perfectly centered. Medium pressure. Wait 5minutes for glue to set up.
Step 14 Used a pressure board between Ring #7 and the Jumbo Chucky. High pressure. Wait 30 minutes for glue to dry.
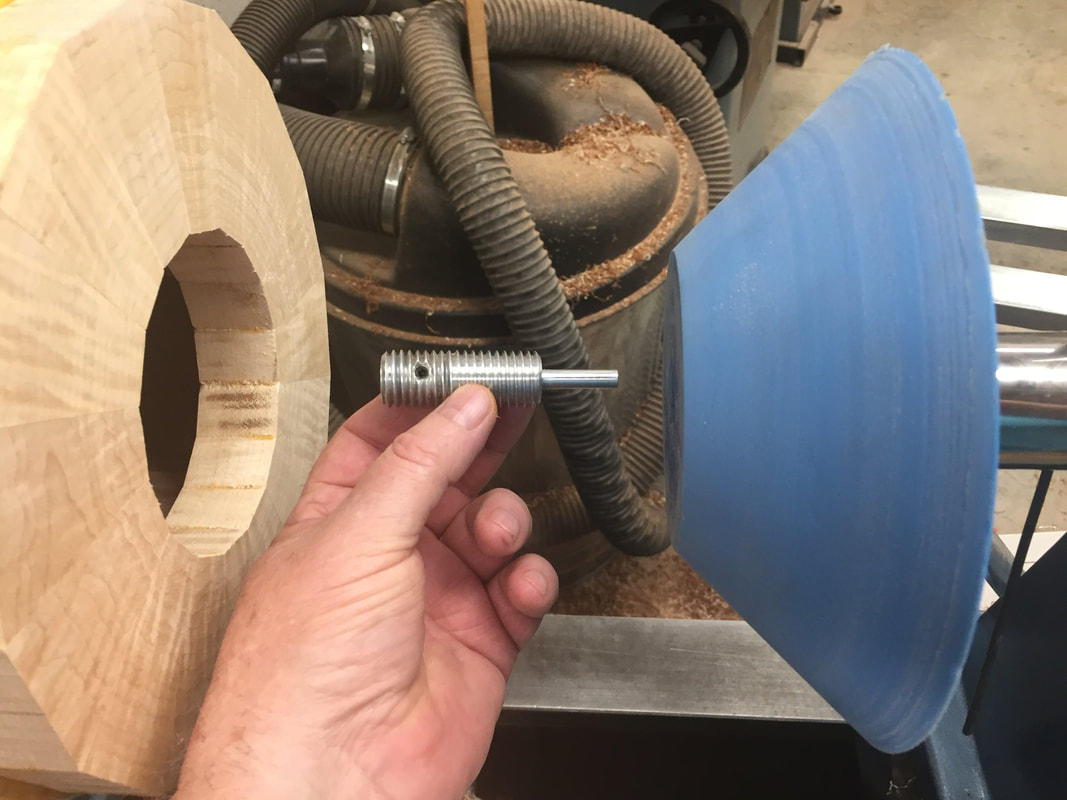
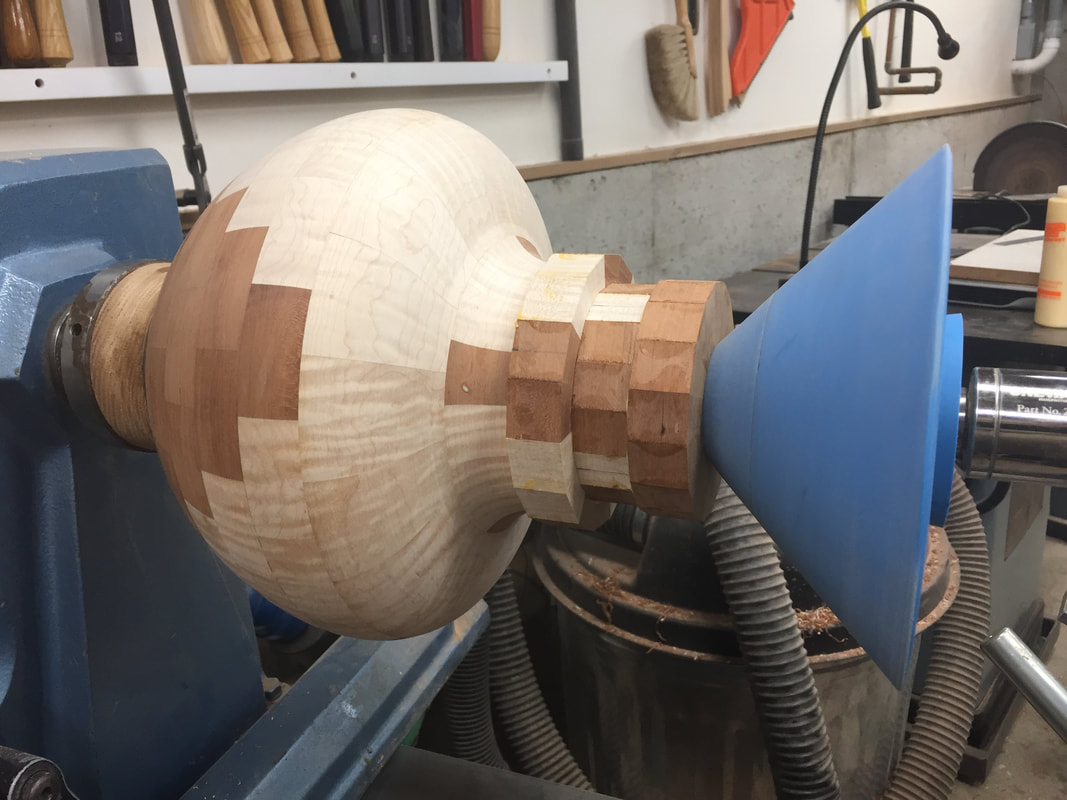
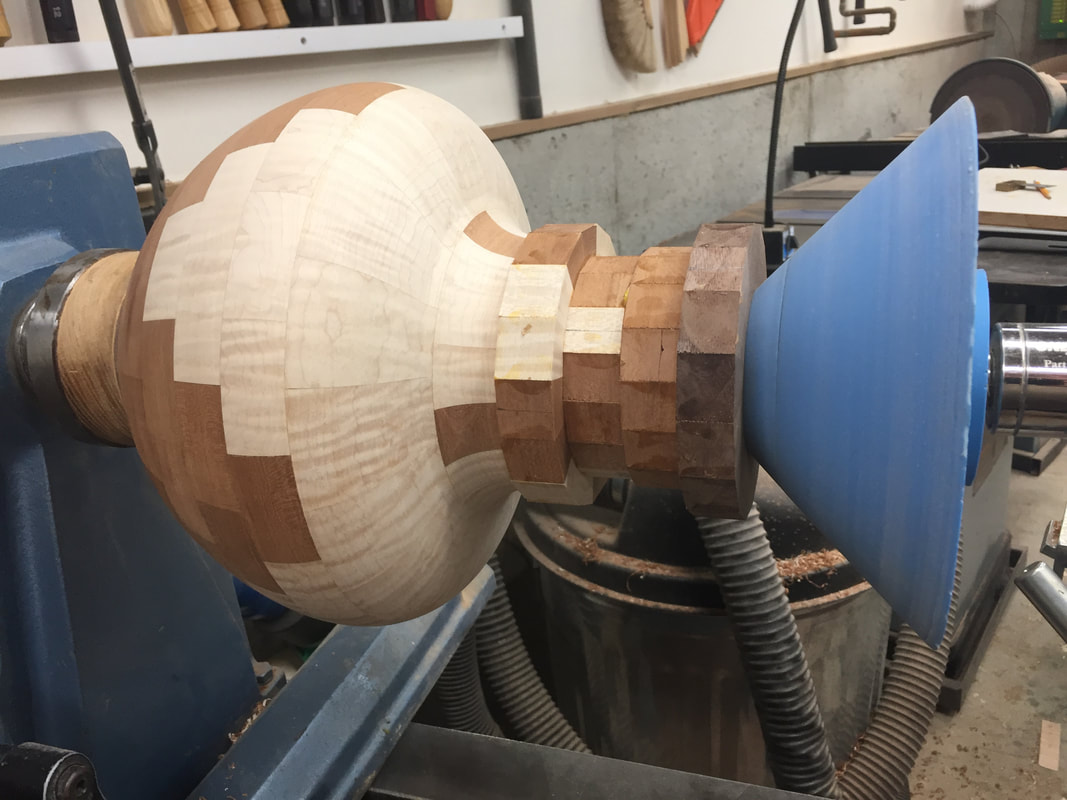
Step 15 Need to attach the nose cone to the Convertible Jumbo Chucky. Used the supplied adaptor as shown in the photo. Need to remove the live center center-point to get the correct thread length.
Step 16 Installed the nose cone. Need the nose cone for centering the smallneck rings.
Step 14 Used a pressure board between Ring #7 and the Jumbo Chucky. High pressure. Wait 30 minutes for glue to dry.
Step 15 Need to attach the nose cone to the Convertible Jumbo Chucky. Used the supplied adaptor as shown in the photo. Need to remove the live center center-point to get the correct thread length.
Step 16 Installed the nose cone. Need the nose cone for centering the smallneck rings.
Step 17
|
Step 18
|
Step 19
|
Step 20
|
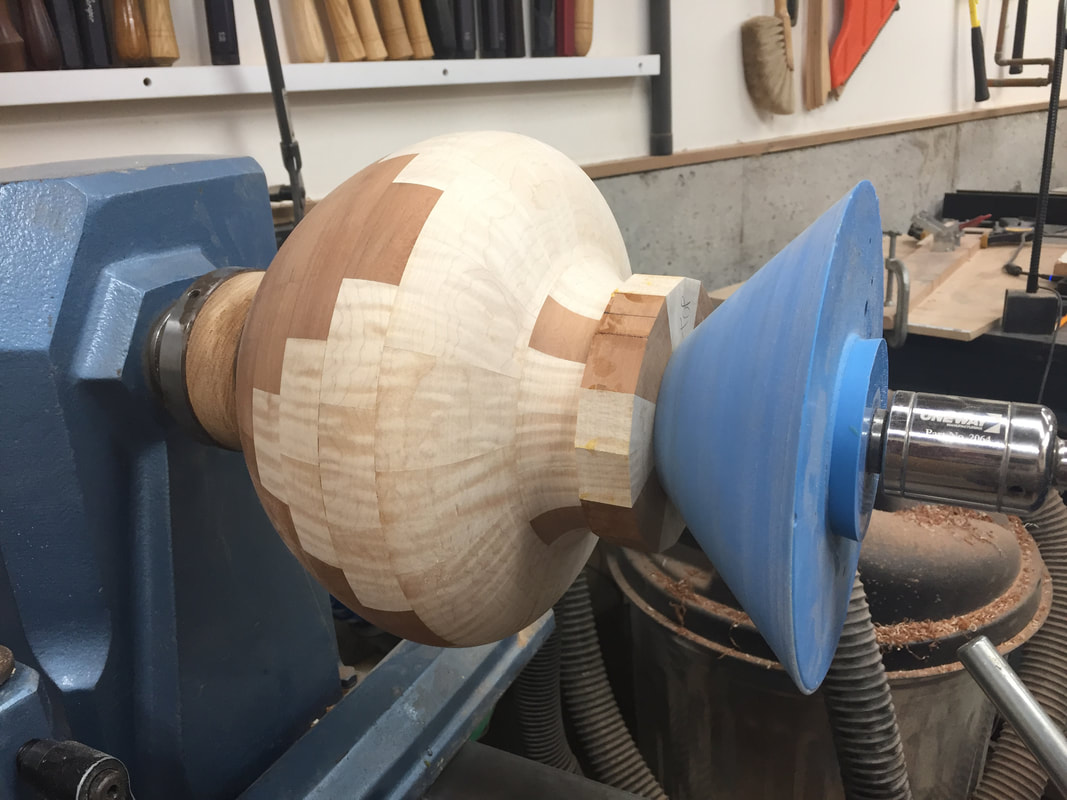
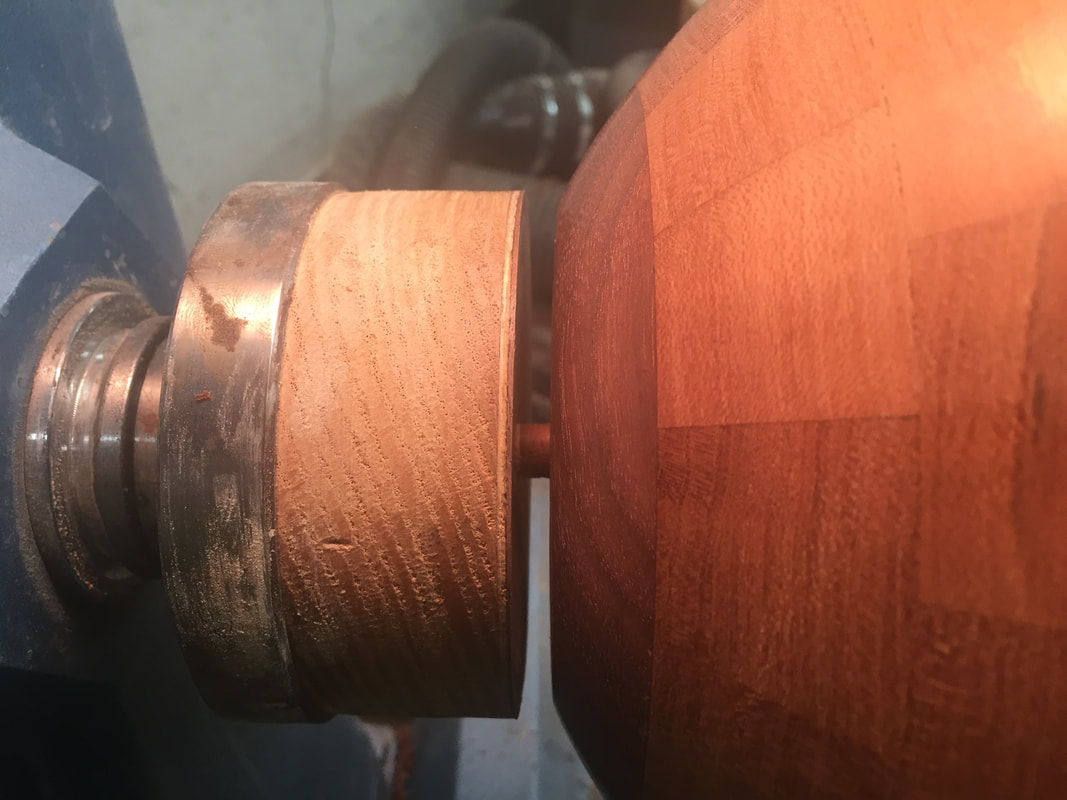
Step 17 Used the Jumbo Chucky to center glue Ring #8 to Ring #7. Ring segments rotated 1/2 segment apart. Perfectly centered. Medium pressure. Wait 5 minutes for glue to set up.
Step 18 Used a pressure board between Ring #8 and the Jumbo Chucky. High pressure. Wait 30 minutes for glue to dry.
Step 19 Used the Jumbo Chucky to center glue Ring #9 to Ring #8. Ring segments rotated 1/2 segment apart. Perfectly centered. Medium pressure. Wait 5 minutes for glue to set up. This is the last chance to easily get to the bowl interior, so I turned the remaining bowl outside for contour and turned the inside for wall thickness.
Step 20 Used a pressure board between Ring #9 and the Jumbo Chucky. High pressure. Wait 30 minutes for glue to dry.

Step 21
|
Step 22
|
Step 23
|

Step 24
|
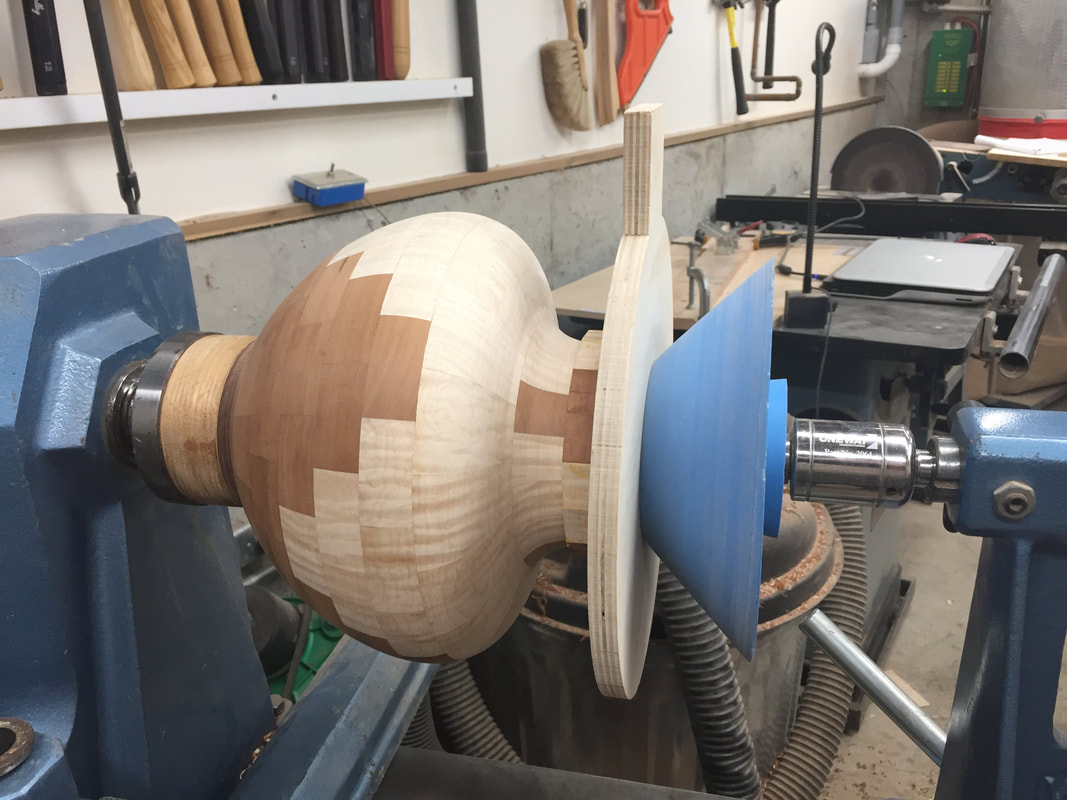
Step 21 Used the Jumbo Chucky to center glue Ring #10 to Ring #9. Ring segments rotated 1/2 segment apart. Perfectly centered. Medium pressure. Wait 5 minutes for glue to set up.
Step 22 Used a pressure board between Ring #10 and the Jumbo Chucky. High pressure. Wait 30 minutes for glue to dry.
Step 23 Used the Jumbo Chucky to center glue Ring #11 to Ring #10. Ring segments rotated 1/2 segment apart. Perfectly centered. Medium pressure. Wait 5 minutes for glue to set up.
Step 24 Used a pressure board between Ring #11 and the Jumbo Chucky. High
pressure. Wait 30 minutes for glue to dry.
Step 25
|

Step 26
|

Step 27
|
Step 28
|
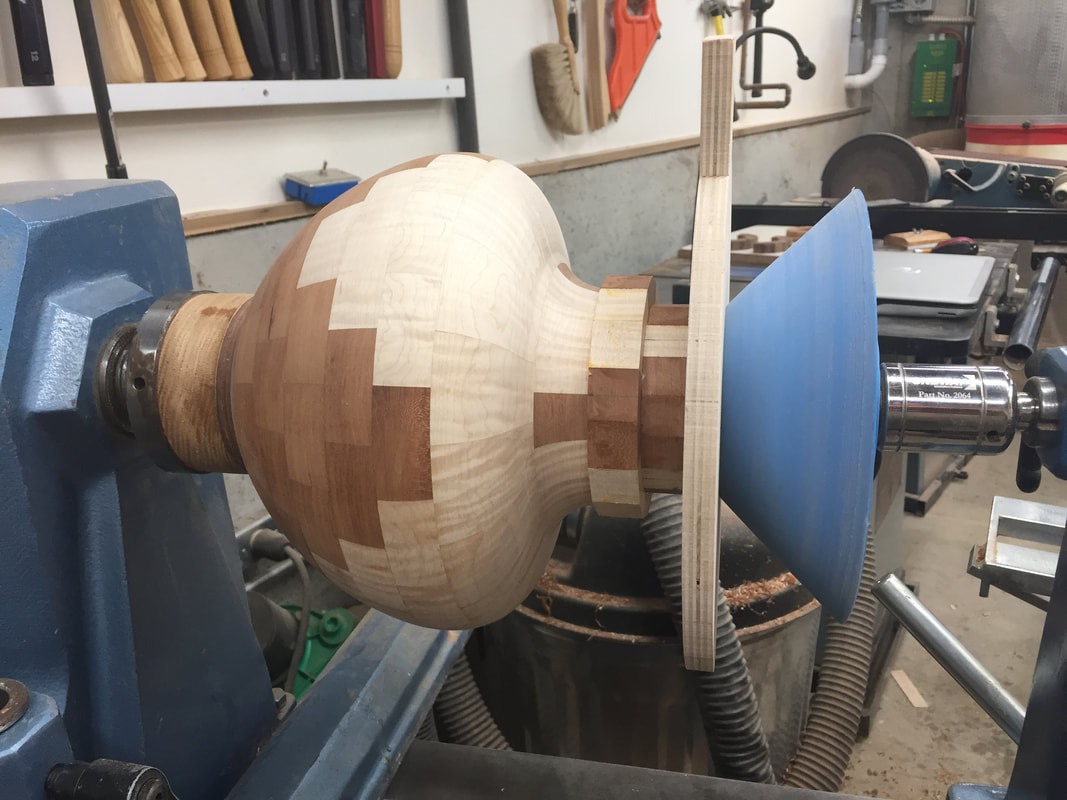
Step 25 Used the Jumbo Chucky to center glue Ring #12 to Ring #11. Ring segments rotated 1/2 segment apart. Perfectly centered. Medium pressure. Wait 5 minutes for glue to set up.
Step 26 Used a pressure board between Ring #12 and the Jumbo Chucky. High pressure. This is the last ring. Wait overnight for glue to dry. Turn it the rest of the way tomorrow.
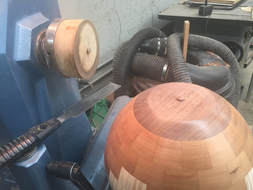
Step 27 Used an Original Rubber Chucky to stabilize the end of the bowl while I parted it off the faceplate.
Note: The Jumbo Convertible Chucky could also be used for this step.
Step 28 Parted the base to a 3/8" tenon. The Chucky made this a very safe and
stable operation.
Step 26 Used a pressure board between Ring #12 and the Jumbo Chucky. High pressure. This is the last ring. Wait overnight for glue to dry. Turn it the rest of the way tomorrow.
Step 27 Used an Original Rubber Chucky to stabilize the end of the bowl while I parted it off the faceplate.
Note: The Jumbo Convertible Chucky could also be used for this step.
Step 28 Parted the base to a 3/8" tenon. The Chucky made this a very safe and
stable operation.
Step 29
|
Step 30
|
Step 29 Cut off the tenon using a Veritas saw. Left a small tenon nub for the live center for reverse turning the base.
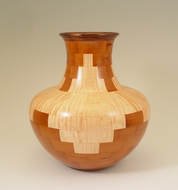
Step 30 Finished vase.
Our thanks to Kevin for sharing his tecnique to accomplish such outstnding work. Be sure to visit Kevin's site www.turnedwood.com
Step 30 Finished vase.
Our thanks to Kevin for sharing his tecnique to accomplish such outstnding work. Be sure to visit Kevin's site www.turnedwood.com